• Home
  • Suggest A DIY
  • DIY Newsletter

Edible Crafts

Creative food craft ideas

  • About CraftGossip
  • Our Network
    • Bath & Body Crafts
    • Candle Making Ideas
    • Crochet Ideas
    • Cross Stitch
    • Edible Crafts
    • Felting Patterns
    • Glass Art
    • Home & Garden Ideas
    • Indie Crafts
    • Jewelry Making
    • Kids Crafts
    • Knitting Patterns
    • Lesson Plans
    • Needlework
    • Party Ideas
    • Polymer Clay
    • Quilting Ideas
    • Recycled Crafts
    • Scrapbooking
    • Sewing Patterns
    • Card Making
    • DIY Weddings
    • Not Craft Ideas
  • Giveaways
  • Roundups
  • Store
  • Search

St Patrick’s Day Oreo Cookies

February 27, 2018 by Shellie Wilson

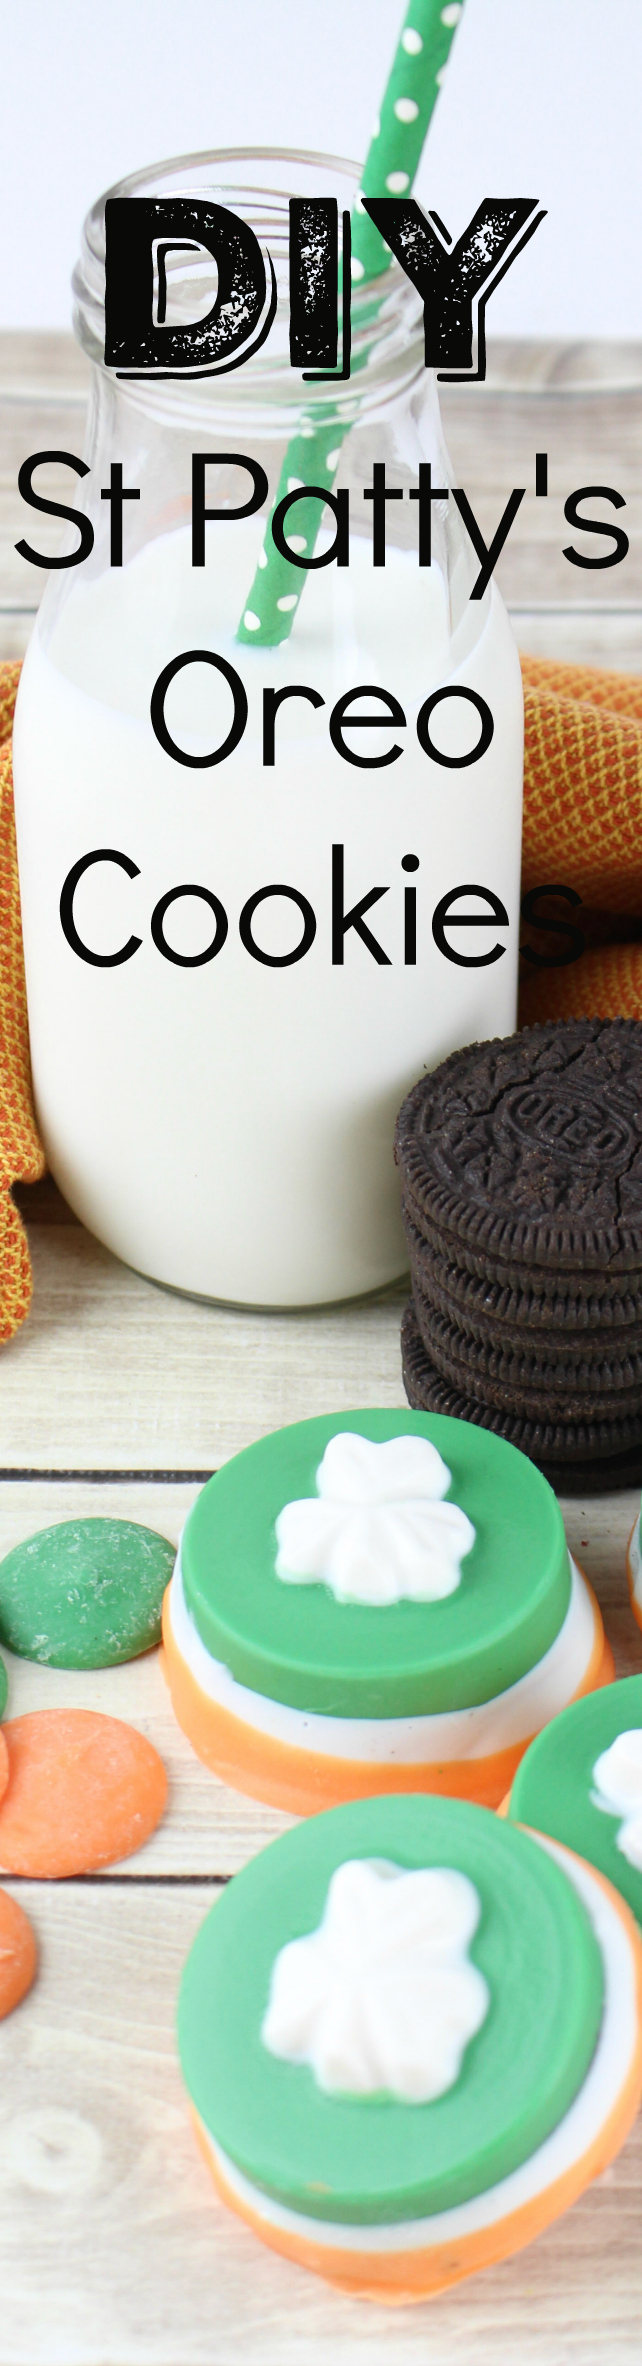
St. Patrick’s Day treats don’t need to be complicated to be cute, and these St. Patrick’s Day Oreo cookies are exactly the kind of easy party snack we love around here. A packet of Oreos, a little melted chocolate, and some green-and-gold decorating magic can turn ordinary cookies into festive little treats for school parties, dessert tables, bake sales, or a fun afternoon project with the kids.

What I like most about decorated Oreo cookies is that they look like you made a huge effort, when really, they’re wonderfully simple. No baking, no dough chilling, no trying to convince shamrock-shaped cookies not to spread in the oven. Just dip, decorate, let them set, and pretend you are far more organised than you actually are.

These are perfect if you’re putting together a last-minute St. Patrick’s Day dessert, need a quick edible craft for kids, or want something bright and cheerful to add to a green-themed party platter. You can dress them up with shamrock sprinkles, gold sanding sugar, green candy melts, or even a drizzle of white chocolate for that “I totally planned this weeks ago” look.

For more fun holiday sweets, you might also like our St. Patrick’s Day treats and edible craft ideas or browse more easy Oreo cookie decorating ideas for party-friendly inspiration.

SUPPLIES NEEDED
Shamrock Oreo Mold(s)

12 regular Oreo cookies

12 oz bag Wilton green candy melts
12 oz bag Wilton bright white candy melts
12 oz bag Wilton orange candy melts

DIRECTIONS FOR ORANGE TOPPED OREOS (6)
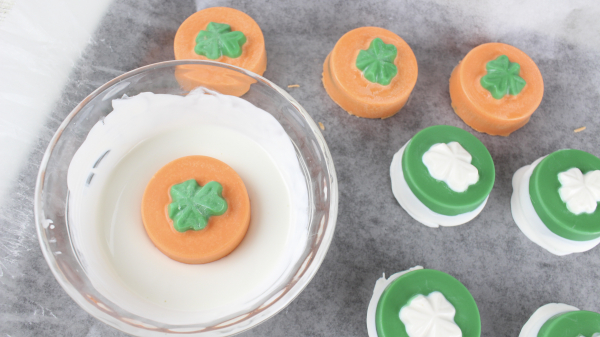
1.   Add 1/4 cup of the green candy melts to a small microwave-safe bowl. Microwave for 40 seconds.  Stir until completely melted and smooth.

2.   Carefully pour the melted green candy into the shamrock center of 6 of the cookie molds. (I used a teaspoon).

3.   Chill the cookie molds for 10 minutes to allow the green chocolate shamrocks to harden.

4.   Add 1/2 cup of the orange candy melts to a microwave safe bowl and microwave on HIGH for 40 seconds.  Remove from microwave and stir. Continue to microwave and stir in 15 second increments until completely melted and smooth.

5.  Remove the chilled cookie molds from the refrigerator. Pour 2 Tablespoons of the melted orange chocolate into each mold.

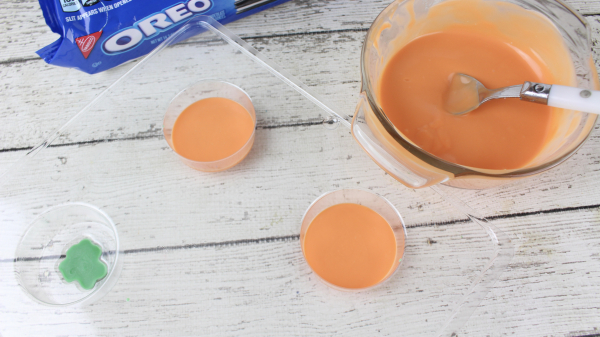
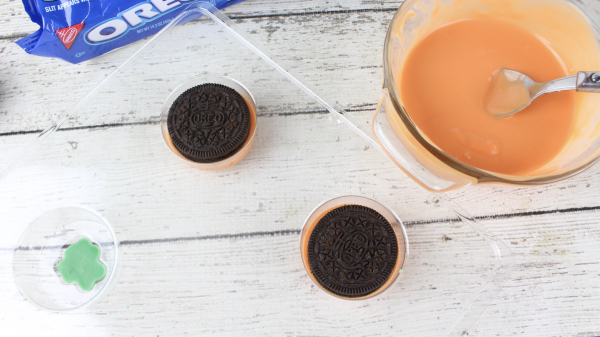
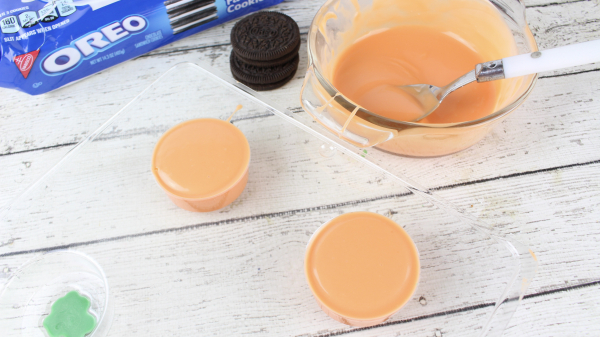
6.   Place an Oreo cookie on top of the melted orange chocolate in each mold.7.   Pour additional melted orange chocolate on top of each cookie, up to the top of each mold.8.   Chill for 30 minutes to allow the orange chocolate to harden.
 
 
9.   Line a cookie sheet with wax or parchment paper.  Once chilled, carefully pop the cookies out of their molds and place on the lined cookie sheet.
 
10.  Place 1/2 cup of white chocolate melts in a microwave safe bowl and microwave on HIGH for 40 seconds.  Stir until completely melted and smooth.
 
 
11.  Dip each orange coated Oreo cookie halfway into the melted white chocolate. Return to the lined cookie sheet for 15 minutes to allow the white chocolate to harden.
 
12.  Place 1/3 cup green chocolate melts in a microwave safe bowl and microwave on high for 40 seconds. Stir until completely melted and smooth.
 
13.   Dip the bottoms of each orange and white Oreo cookie into the melted green chocolate and place back on the lined cookie sheet to harden for 15 minutes.


DIRECTIONS FOR THE WHITE TOPPED OREOS (6)
1.   Add 1/4 cup of the white candy melts to a small microwave-safe bowl. Microwave for 40 seconds.  Stir until completely melted and smooth.2.   Carefully pour the melted white candy into the shamrock part of 6 of the cookie molds.

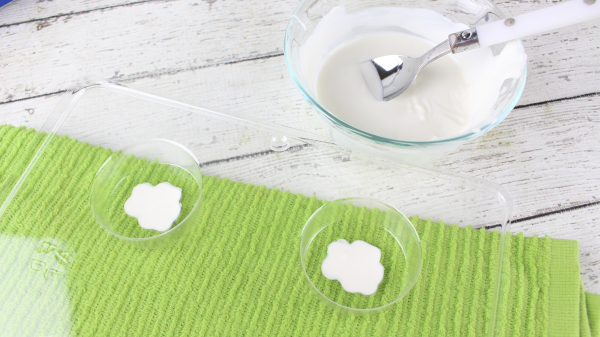
3.   Chill the cookie molds for 10 minutes to allow the white chocolate shamrocks to harden.

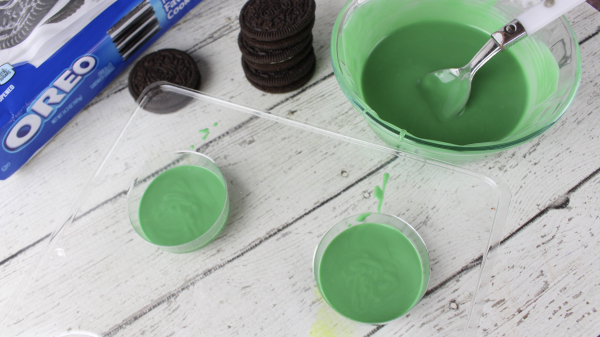
4.   Add 1/2 cup of the green candy melts to a microwave safe bowl and microwave on HIGH for 40 seconds.  Remove from microwave and stir. Continue to microwave and stir in 15 second increments until completely melted and smooth.

5.  Pour 2 Tablespoons of the melted green chocolate into each chilled mold.

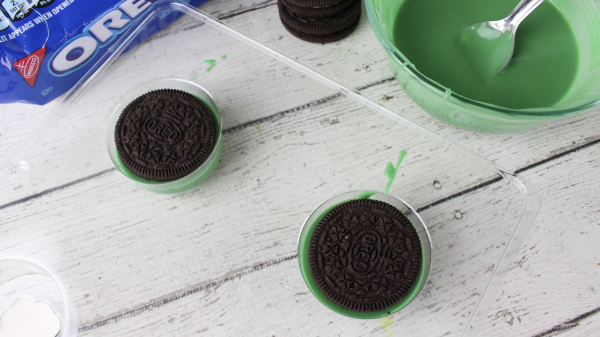
6.   Place an Oreo cookie on top of the melted green chocolate.

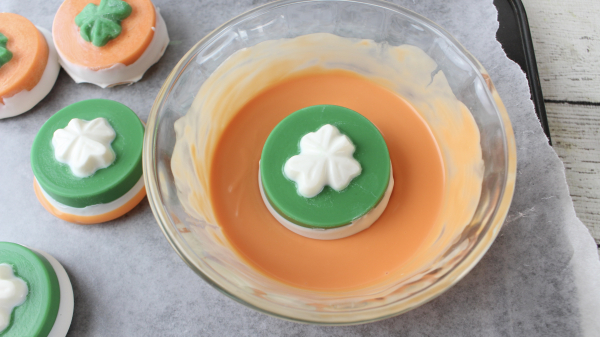
7.   Pour additional melted green chocolate on top of the cookies, up to the top of each mold.

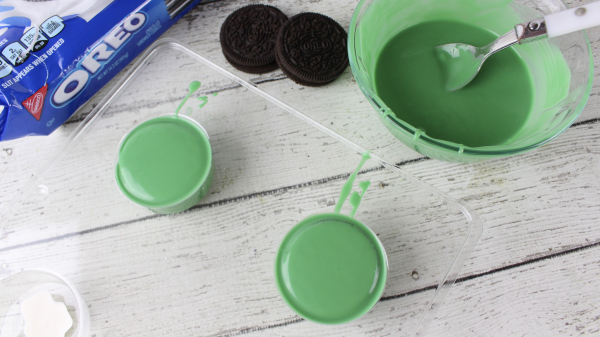
8.   Chill for 30 minutes to allow the green chocolate to harden.

 
9.   Pop the chilled cookies out of their molds and place on a lined cookie sheet.
 
10.  Place 1/2 cup of the white chocolate melts in a microwave safe bowl and microwave on HIGH for 40 seconds.  Stir until completely melted and smooth.
 
11.  Dip each green chocolate coated Oreo cookie halfway into the melted white chocolate. Return to the lined cookie sheet for 15 minutes to allow the white chocolate to harden.
 
12.  Place 1/3 cup orange chocolate melts in a microwave safe bowl and microwave on high for 40 seconds. Stir until completely melted and smooth.
 
13.   Dip the bottoms of each green and white Oreo cookie into the melted orange chocolate and return to the lined cookie sheet to harden.
 
14.   ENJOY!!
 
Store in an airtight container in the refrigerator for up to 2 weeks.
This post contains Affiliate links which means we get a small financial kick back when you make a purchase.

Related Posts:

  • 20 Festive Things to Make with Canned Crescent Roll Dough
  • How to Make Pizza Dough at Home That’s Crispy…
«
»

Comments

  1. Jeanine Carlson says

    February 28, 2018 at 11:03 pm

    Okay, first of all, I love these! Second, you transposed the final dipping pictures for the 2 different cookies. So, thegreen bottomed cookies show the picture of the white bottomed cookies and vice versa. Small detail but it wasn’t making sense.

Have you read?

How to Make Keto Granola Bars (Low Carb, No Sugar and Actually Delicious)

How Much Do You Really Need? A No-Stress Party Drinks Guide for Real Women Who Host

Bubblegum Milkshake Slushie: The Sweetest Thing I’ve Ever Put in My Ninja

Biscoff Cocktail – A Creamy Dessert Drink You’ll Love

Ice Cubes Made for Gin Drinkers

Categories

Baked candy chocolate Christmas cookies Craft Inspirations cupcakes Drinks Easter fruit Fun With Food Halloween Holidays kids More Recipes non-sweets Parties & entertaining Recipes Thanksgiving Valentines Day

30 Min Skillet Lasagna

Crescent Bacon Breakfast Ring

KFC Edible Nail Polish

Dora The Explorer – Fun Pancakes

Decorate with Food

RSS More Articles

  • Sewing Pattern Saturday – Wide Leg Jumpsuit PDF Sewing Pattern Review
  • Plan This Fun Lego Challenge for a Group of Kids or Just One
  • 10 DIY 4th of July Wreaths To Dress Up Your Front Door
  • Patriotic USA Letters – Free Crochet Pattern
  • How to Make Keto Granola Bars (Low Carb, No Sugar and Actually Delicious)
  • How to add Detailed Stitching to Your Handmade Cards
  • Designer Spotlight: Unique Stitch Crafts
  • Free Dotted Lines Embroidery Pattern Review
  • Peyote Stitch Pendants And Necklaces: 10 Seed Bead Jewelry Projects To Make
  • Choose Your Own Brioche Knitting Adventure with this Shawl Knitting Pattern

Pick Your Blog

  • Sewing
  • Knitting
  • Quilting
  • Crochet
  • Home & Garden
  • Recycled Crafts
  • Scrapbooking
  • Card Making
  • Polymer Clay
  • Cross-Stitch
  • Edible Crafts
  • Felting
  • Glass Art
  • Indie Crafts
  • Kids Crafts
  • Jewelry Making
  • Lesson Plans
  • Needlework
  • Bath & Body
  • Party Ideas
  • Candle Making
  • DIY Weddings
  • Not Craft
  • Free Craft Projects

Explore Edible Crafts

breakfast cake candy chocolate Christmas cookie decorating cookies dessert Easter fruit Halloween Holidays kids lollipop sticks lunch packaging party summer Thanksgiving valentines

Copyright © 2026 · CraftGossip | Start Here | Contact Us | Link to Us | Your Editors | Privacy and affiliate policy