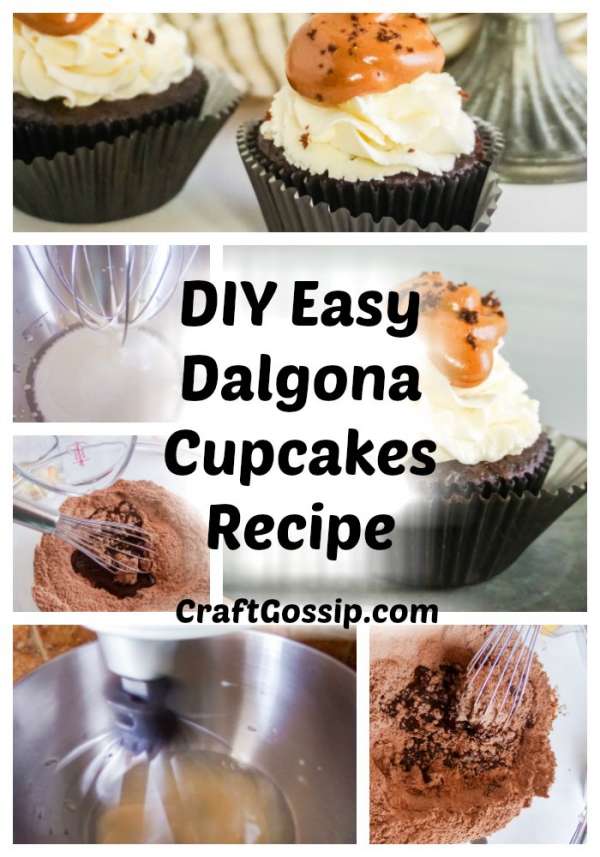
The Korean coffee drink taking the internet by storm is Dalgona Coffee! This Dalgona coffee cupcake recipe is fuelled with caffeine! This Dalgona coffee is trending faster than the Bulletproof coffee phase a few years ago thanks to all those teenagers on Tik Tok. Check out these fun Cafe style cupcake wrappers to present them in.
Dalgona Coffee Filler & Topping
- 2 tbsp instant coffee

- 2 tbsp granulated sugar
- 2 tbsp boiling water

Cupcakes
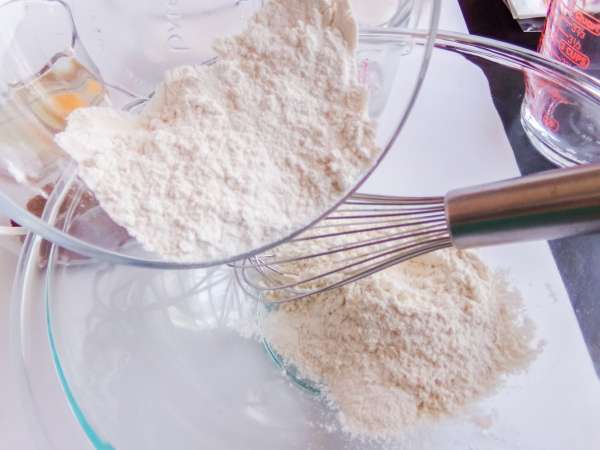
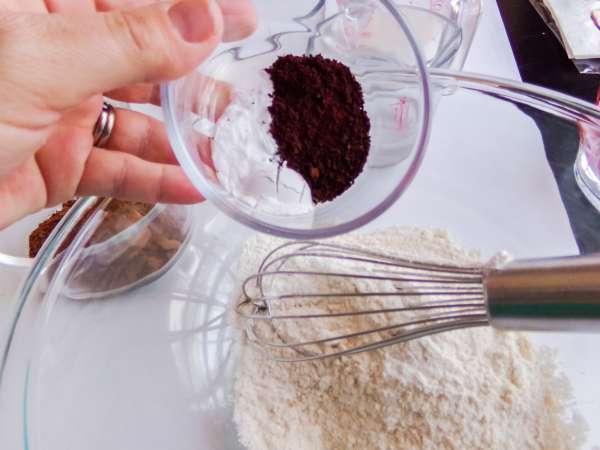
- 1 cup flour
- 1 cup sugar
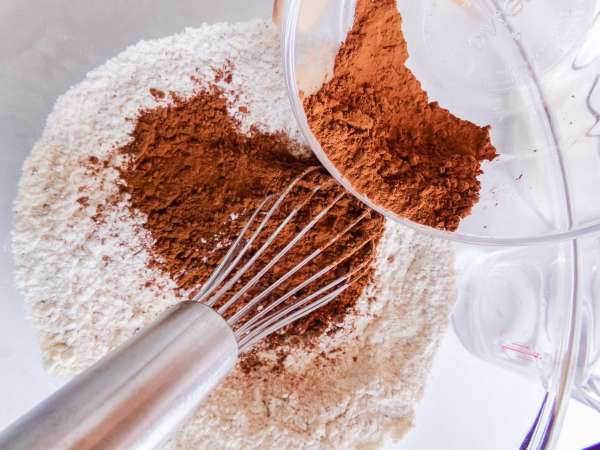
- 3/8 cup cocoa powder
- 1 tsp baking powder
- 1/2 tsp baking soda
- 1/2 tsp salt
- 1 tsp instant coffee/espresso powder
- 1/2 cup buttermilk
- 1/4 cup oil
- 1 egg
- 1 tsp vanilla extract
- 1 cup hot water


Swiss Meringue Buttercream
- 2 egg whites
- 1 cup + 1 tbsp sugar
- 3/4 cup unsalted butter (cut into small chunks)
- 1/2 tsp vanilla extract

Instructions
Preheat your oven to 350 degrees and line a muffin tin with cupcake liners. Set aside.

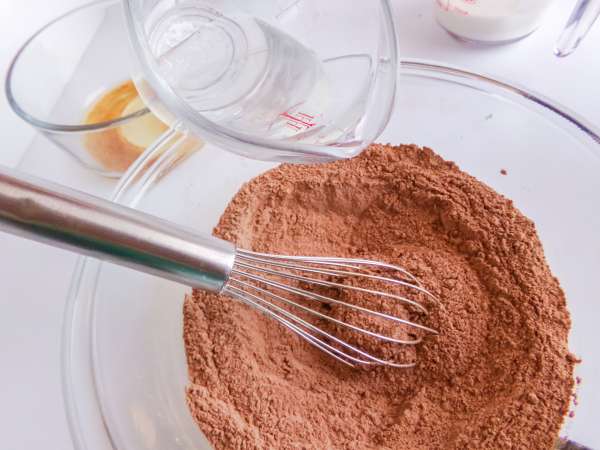
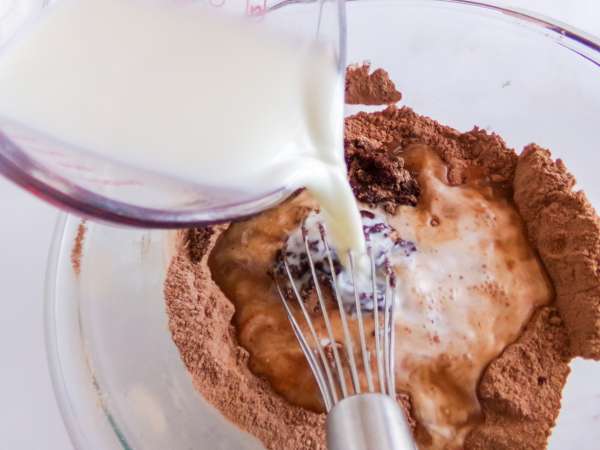
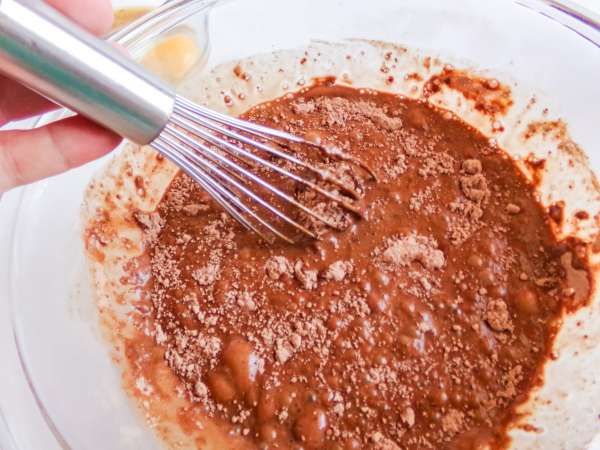
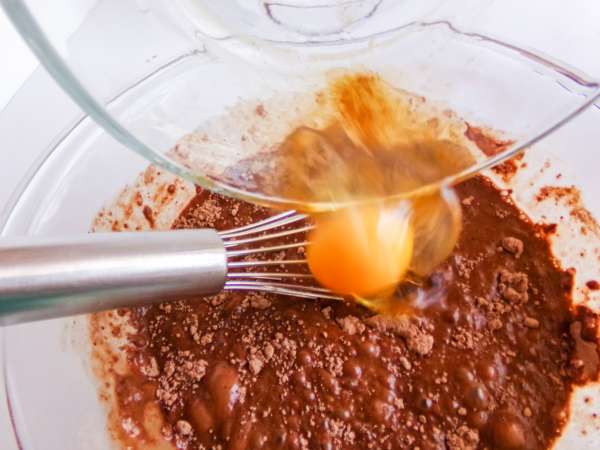
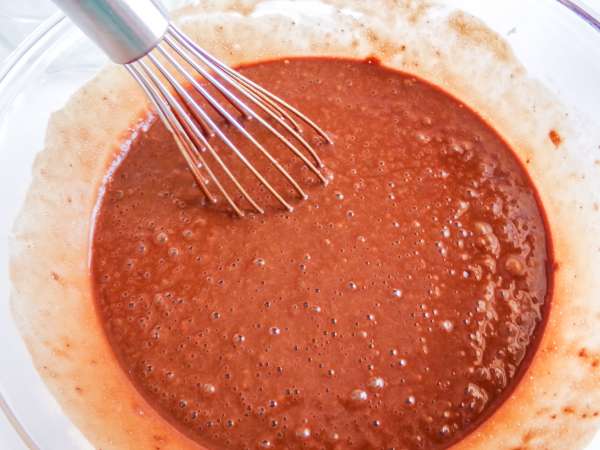
To make the cupcakes, in a mixing bowl, combine the wet ingredients. In a second bowl, whisk together the dry ingredients.
Add the dry ingredients into the wet in 1/3 increments, stirring together until fully incorporated.


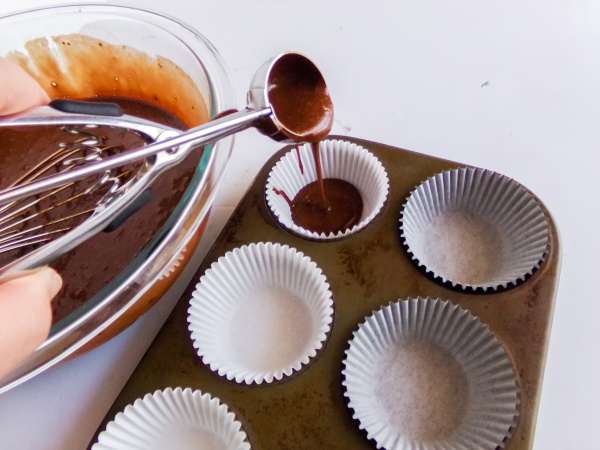
Place about 2 tablespoons of batter into each cupcake liner. Bake the cupcakes for 25 minutes or until a toothpick inserted in the centermost cupcake comes out clean.
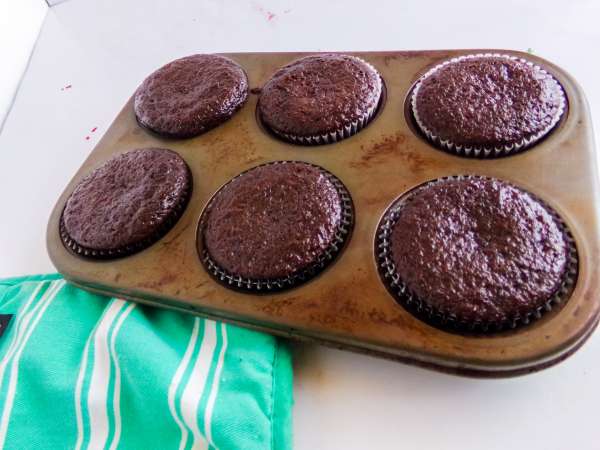
Allow cupcakes to cool in the muffin tin for 5 minutes, then remove to a wire rack to cool completely. While the cupcakes are cooling, make the Dalgona Coffee Filler & Topping as well as the Swiss Meringue Buttercream.
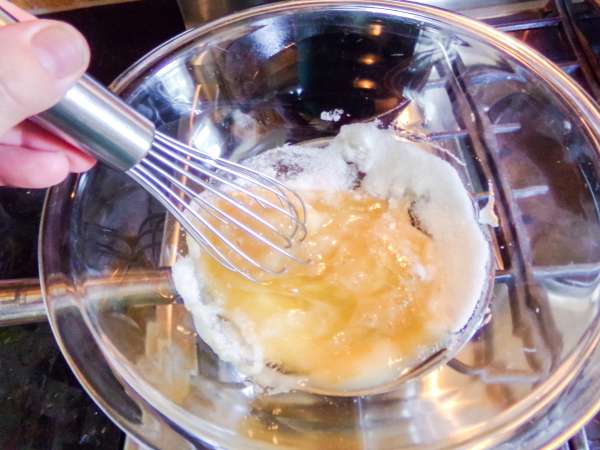
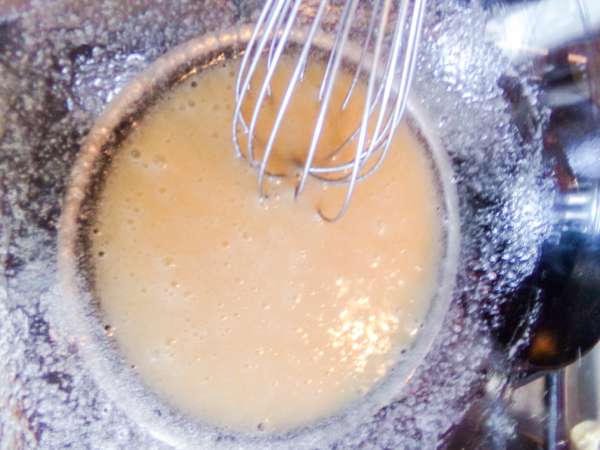
To make the Dalgona Coffee Filler & Topping, combine ingredients in the bowl of a mixer and beat for 10 minutes or until it whips up to look like whipped cream. Set aside.
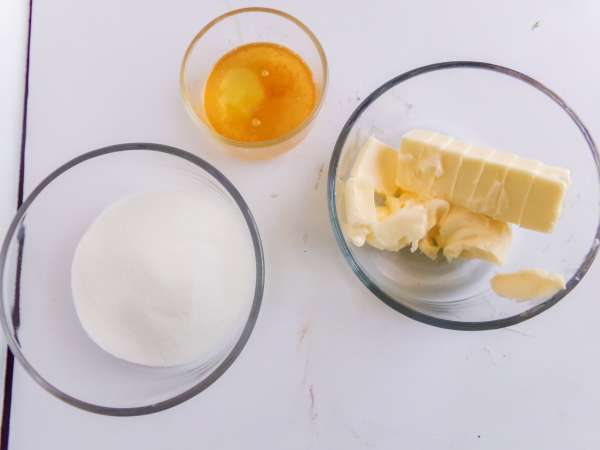
To make the Swiss Meringue Buttercream, beat egg whites and sugar together until stiff peaks form. Add in butter one piece at a time, continuing to beat until well combined. Add in vanilla and stir to combine.
Using a cupcake corer or a large icing tip, make a well in the center of each cupcake. Do not discard the tops.
Place 1 tbsp of the Dalgona Coffee Filler & Topping in the well in each cupcake center, then replace the hole’s top.
Frost each cupcake with a large star piping tip with the Swiss Meringue Buttercream.
Add a dollop (about 1 tbsp) of the Dalgona Coffee Filler & Topping to the top of each frosted cupcake and enjoy!

