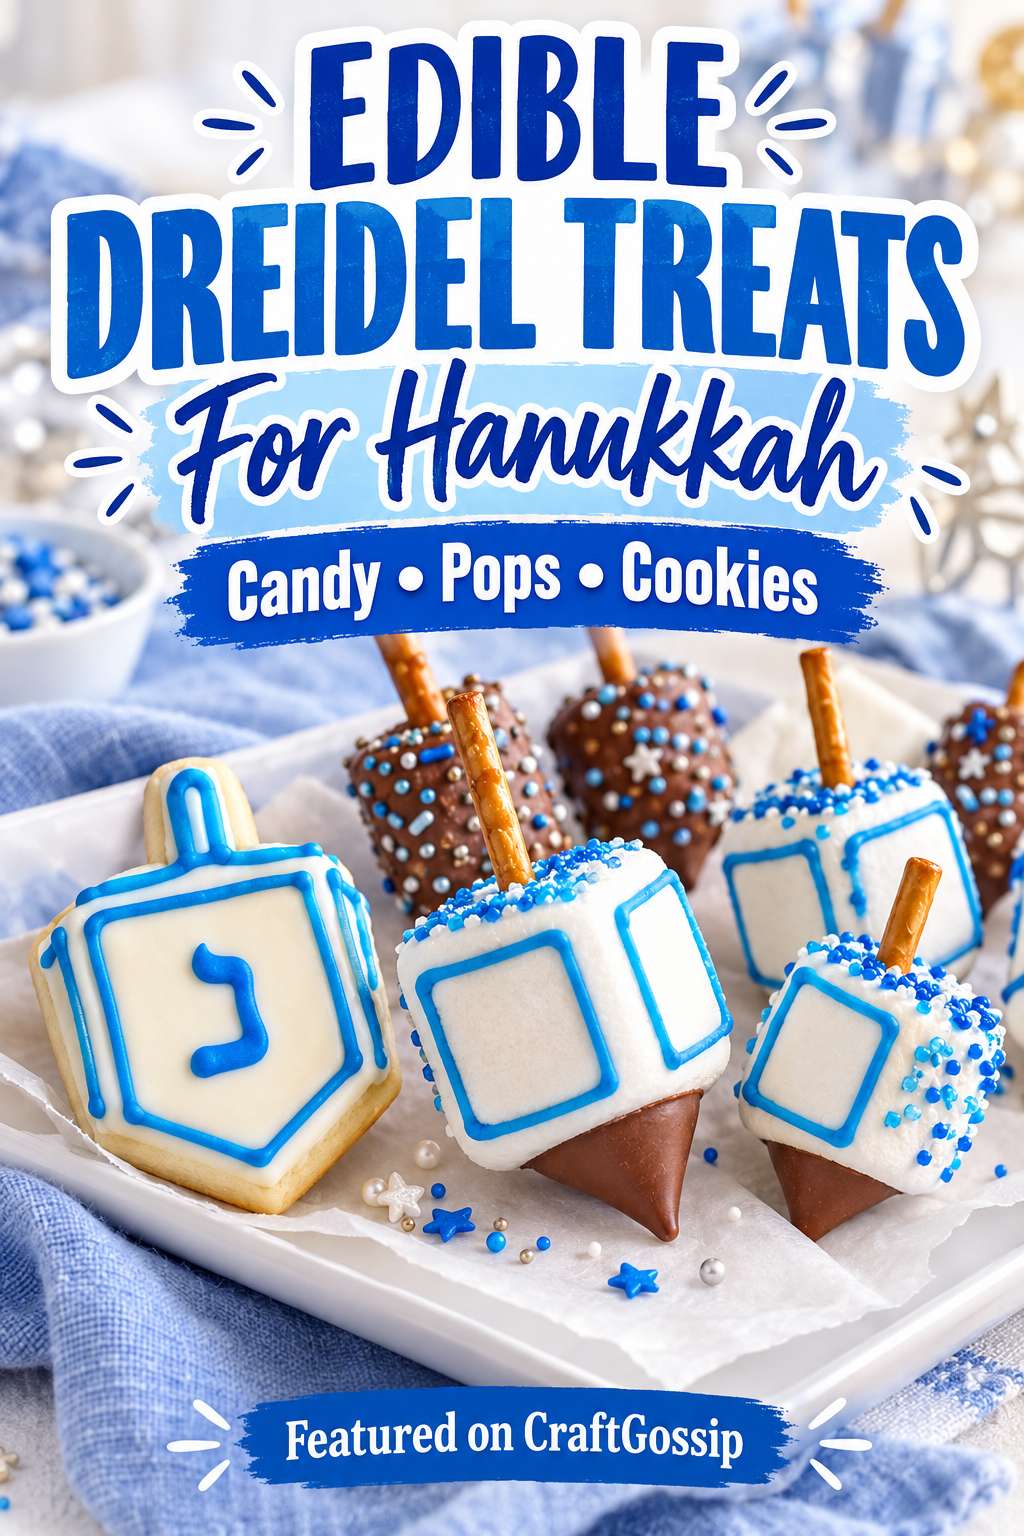
A marshmallow, a little chocolate and a pretzel stick might seem like ordinary snack ingredients, but put them together and you have the beginnings of a sweet little dreidel. This is the kind of edible craft I love: something recognisable and cheerful made from ingredients that don’t require an elaborate shopping trip.
These edible dreidel treats are a lovely addition to a Hanukkah dessert table, but making them can be just as enjoyable as serving them. Set out a few bowls of ingredients, cover the table with baking paper and give everyone room to decorate. There’s something particularly satisfying about a project that lets children and adults work alongside one another without needing every finished piece to look identical.
Some versions are simple enough for a short family activity. Others involve dipping, piping or baking, making them a good choice when you want to spend a little longer in the kitchen. You can keep the decorating minimal, choose classic blue and white, or let the ingredients themselves provide most of the colour.
Below you’ll find tutorials for candy dreidels, marshmallow pops and cookies, followed by practical tips for planning your own treat-making session.
What Is a Dreidel?
A dreidel is a four-sided spinning top traditionally used in a game during Hanukkah. Its sides carry Hebrew letters: nun, gimel, hey and shin. On dreidels used in Israel, pe replaces shin.
The letters refer to the Hanukkah miracle, with the wording differing between “there” and “here.” If you’re decorating your treats with Hebrew letters, use a clear reference so you can reproduce the shapes accurately.
These food crafts borrow the dreidel’s distinctive shape. They’re best enjoyed as treats; keep a separate, proper dreidel for playing the game.
Edible Dreidel Tutorials to Try
1. Simple Chocolate and Marshmallow Dreidels
For an approachable starting point, try the Chocolate Dreidels tutorial from Hersheyland.
The design combines a marshmallow body with a chocolate candy point, then adds a handle and icing decoration. It’s a useful choice when you want an assembly project without baking.
I would start with this style for a mixed-age family group. Prepare the ingredients in advance, demonstrate one finished treat and then let everyone assemble their own. Allow the edible adhesive to set before moving or packaging the dreidels.
2. White Chocolate Marshmallow Dreidel Pops
These White Chocolate Marshmallow Dreidel Pops from The Lindsay Ann have a coated finish with contrasting blue decoration.
The coating creates a smooth surface for piping, giving the finished treats a more coordinated appearance. They would look lovely arranged in a shallow gift box or presented individually in small paper cases.
This version involves a few more stages than the plain marshmallow design. Give yourself time for assembling, coating, setting and decorating rather than trying to finish everything at once.
3. Marshmallow Dreidels With Sprinkles
For a textured variation, take a look at the Marshmallow Dreidel tutorial from Hostess with the Mostess.
The project uses marshmallows, chocolate kisses, pretzel sticks, frosting and blue sprinkles. Sprinkles give children an easy way to personalise their treats without needing detailed piping skills.
Use a small plate beneath each decorating area to catch loose sprinkles. It makes cleanup easier and helps prevent the entire table from becoming covered in tiny decorations.
4. Butter Cookie Dreidels
If you prefer a baking project, try these Butter Cookie Dreidels from Chabad.org.
Dreidel-shaped cookies offer a flat surface for decorating, which can be easier to work on than the curved side of a marshmallow. They’re also a good option when you want to separate the activity into two sessions: baking first, decorating later.
Let the cookies cool completely before adding icing. Keep the handles reasonably substantial when cutting your dough, as narrow sections can be more delicate.
Ingredients and Equipment
Each linked tutorial has its own ingredient list and method. Depending on the project you choose, your checklist may include:
- Marshmallows
- Chocolate kisses or similar pointed chocolates
- Pretzel sticks or food-safe lollipop sticks
- Edible adhesive, icing or melted chocolate, as specified
- White chocolate or candy melts
- Blue and white decorating icing
- Sprinkles
- Cookie ingredients and a dreidel-shaped cutter
- Baking paper and trays
- Small bowls and spoons
- Piping bags with fine openings
- Food-safe containers or gift packaging
If your household keeps kosher, choose ingredients with certification appropriate to your needs. Check marshmallows, chocolate, decorating products and any other packaged ingredients rather than assuming the completed treat is suitable.
For a group activity, also check dietary requirements before shopping.
How to Plan a Dreidel Treat-Making Session
Choose One Main Project
It’s tempting to offer several designs, but one main project keeps the preparation manageable. Plain marshmallow dreidels suit a simpler session, while coated pops or cookies need more time and equipment.
Make a sample beforehand so you know how the ingredients behave and how long the different stages take.
Prepare the Work Area
Cover the table and place ingredients in shallow bowls. Give each person a small tray or sheet of baking paper for their finished treats.
Keep packaging away from the decorating area until everything has set. Otherwise, it’s easy to smudge icing while trying to tidy up.
Separate Assembly From Decoration
Follow your selected tutorial’s assembly instructions, then allow any joins or coatings to set before decorating.
This pause is useful. Everyone can practise letter shapes, choose colours or prepare gift tags while the treats become easier to handle.
Keep a Letter Reference Nearby
Print or display a clear reference for the Hebrew letters. Practise on baking paper before piping onto the food.
For flat cookies, one carefully drawn letter can be enough to create a recognisable design. For a four-sided interpretation, place a different letter on each side.
Leave Time for Setting
Finished-looking icing may still be soft underneath. Follow the tutorial and decorating product instructions before stacking or bagging your treats.
Decorating Ideas
Keep it classic. White marshmallows with blue lettering create a simple design with very little extra work.
Add a contrasting coating. A pale coating with darker decoration makes the lettering easier to see.
Use sprinkles selectively. Decorate one section rather than covering every surface, especially if you want the letters to remain readable.
Make a coordinated platter. Choose two main colours and repeat them across the batch. Small differences in the handmade pieces will still look charming.
When colouring chocolate or candy coatings, use products labelled as suitable for that purpose and follow the manufacturer’s directions.
Troubleshooting Your Edible Dreidels
The Chocolate Point Keeps Falling Off
Check that you’re using the adhesive recommended by the tutorial. Support the pieces while the join sets and avoid lifting the treat by its handle too soon.
The Handle Breaks
Insert pretzel sticks gently rather than forcing them into place. If you’re using lollipop sticks, remind everyone that the stick must be removed before eating.
The Lettering Looks Messy
Practise first and use a smaller piping opening. Simple, clear strokes are usually more successful than trying to add lots of decoration to a small surface.
The Coating Is Too Thick
Follow the coating package’s melting instructions. Avoid adding water or improvising thinning ingredients, which can affect how the coating behaves.
Serving and Gifting
Arrange the treats in a single layer on a platter, or place individual pieces in small paper cases. Keep the more delicate decorations from touching neighbouring treats.
For gifts, choose packaging that supports the shape rather than squeezing it. A shallow box with food-safe lining can be easier to manage than a tightly packed bag.
Add a small ingredient label when sharing homemade treats, particularly if they contain common allergens. Let all decorations set fully before closing the packaging.
Store according to the recipe you follow and the requirements of its ingredients. Keep chocolate-coated treats away from heat, and avoid promising a fixed shelf life for every variation.
More Hanukkah Food Craft Inspiration
If you’re putting together a dessert table or planning another edible craft session, explore our Edible Menorah Ideas for Hanukkah.
You don’t need to make every project. One batch of dreidel treats, made together and served with care, can be a lovely part of the celebration.
What I like most about these ideas is the room they leave for participation. Some people will enjoy careful piping, others will prefer adding sprinkles, and someone will inevitably volunteer to sample the spare ingredients. The finished treats are sweet, but the shared time around the kitchen table is a good reason to make them too.
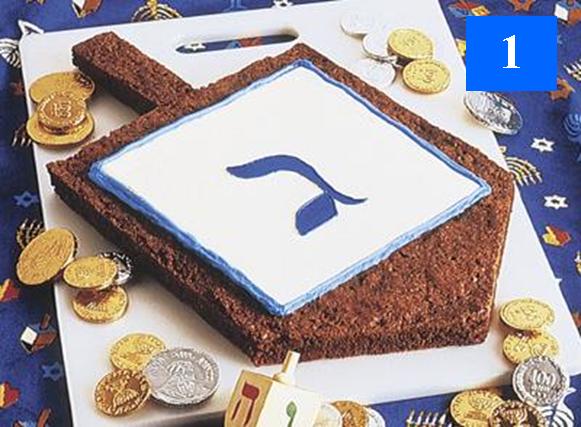
Dreidel, dreidel, dreidel, I made you out of flour, sugar and candy. And brownies. And marshmallows. And, you get the idea. Here is a collection of dreidels for the food crafter.
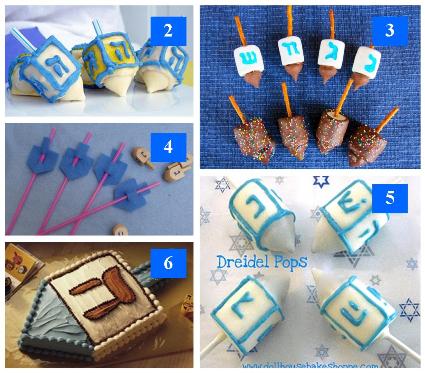





These are great!