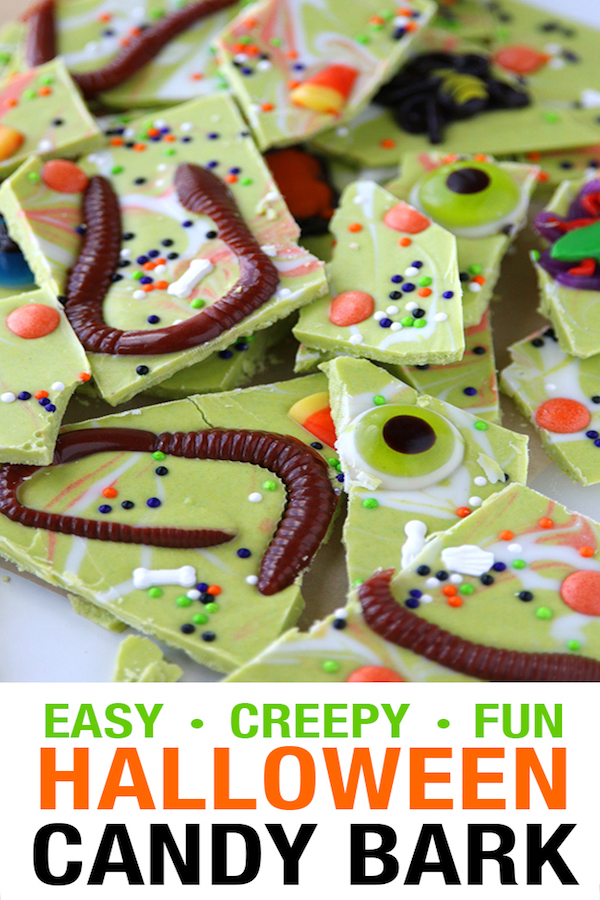
photo credit: Living Locurto
Looking for a fun way to use up all that leftover Halloween candy—or maybe you want a crafty kitchen project to do with the kids before the big night? These creepy Halloween treats are just the thing. They’re quick, creative, and just spooky enough to make everyone smile.
What makes these treats extra special is how versatile they are. You can prep a batch ahead of time to serve at your Halloween party, or turn them into a hands-on activity for your guests. Imagine setting up a little “make-your-own creepy treat” station with bowls of candy, melted chocolate, and spooky toppings—partygoers can decorate their own creations and then take them home in little favor bags. It’s both an activity and a dessert, which makes it a win-win for busy hosts.
Amy Locurto has shared the full step-by-step on how to create this ghoulishly good recipe, and it couldn’t be easier to follow. With just a few simple ingredients and a handful of leftover candy, you’ll have a treat that looks straight out of a Halloween bakery display.
This idea isn’t just perfect for Halloween night—it’s also a great way to make use of candy after the holiday. Instead of letting it sit in the pantry (or sneaking piece after piece when no one’s looking), transform it into something fun, festive, and memorable.
Click here on Living Locurto for the recipe and directions.
Hosting a Halloween Party? Check out these Halloween Party Decorations or maybe you want to download and print your own Halloween designs? Check out these Halloween printables, digital stamps, invitations and files from Design bundles.

