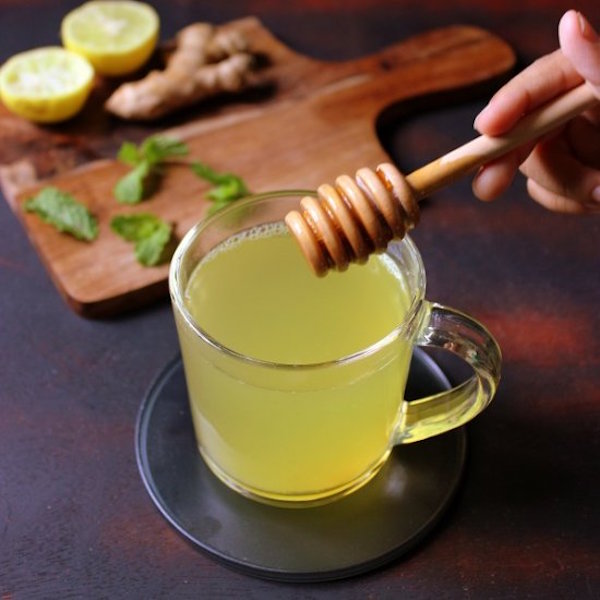
photo credit: Priya Kitchenette
With school started for some and getting ready to start for others, we already need to start thinking about colds. It is amazing how quickly the cold season starts up as soon as school starts. It is never to early to start boosting those immunities and prepare for the cold season ahead. This soothing tea by Priya Shiva at Priya Kitchenette will sooth the sore throat, help with nausea, and give you relief from the stuffy nose.
Click here on Priya Kitchenette for the recipe and directions.
It’s not fancy. It’s not complicated. But it always delivers.
How to Make Ginger
Ingredients:
- 2–3 cm piece of fresh ginger, peeled and sliced thinly2 cups water
- Honey or maple syrup, to taste
- Optional:
– A wedge of lemon
– A pinch of ground turmeric
– A cinnamon stick or star anise for added warmth
Method:
- Slice Your Ginger
Peel your ginger and slice it into thin coins. No need to be perfect—just make sure the surface area is exposed to release all that gingery goodness. - Simmer the Tea
Add the ginger slices and water to a small saucepan. Bring to a gentle boil, then lower the heat and simmer for about 10–15 minutes. The longer you simmer, the stronger it gets. - Strain and Pour
Strain the tea into your favourite mug or teapot. - Add Sweetness & Extras
Stir in a little honey or maple syrup, and add lemon juice if using. I love a little squeeze of lemon when I’m feeling run-down—it really brightens things up.
Shellie’s Tips:
- For extra warmth, add a pinch of turmeric and a twist of black pepper—hello, anti-inflammatory goodness!
- Feeling fancy? Steep with a cinnamon stick or a slice of orange peel for a chai-like twist.
- You can store leftover tea in the fridge and reheat it later. I often double the batch and sip on it all day.
This is one of those recipes that feels more like a ritual than a recipe. You can make it your own, depending on how you feel and what’s in your pantry. And if you’re anything like me, you’ll find yourself reaching for it even when you’re not sick—just because it feels like a warm hug in a mug.
Want a printable recipe card for this one? Happy to pop it together!


Thank you for sharing <3