 Did I mention, by the way, that I’m giving away a KitchenAid mixe
 r? Yeah, a KitchenAid. To celebrate the release of Sugarlicious… I’m collecting your stories. Find all the details, including how to enter and the email address to submit your stories and photos at the decorated cookie.
Comments
Have you read?
Ina Garten Egg Salad Recipe: Creamy Tartines and Easy Lunch Ideas
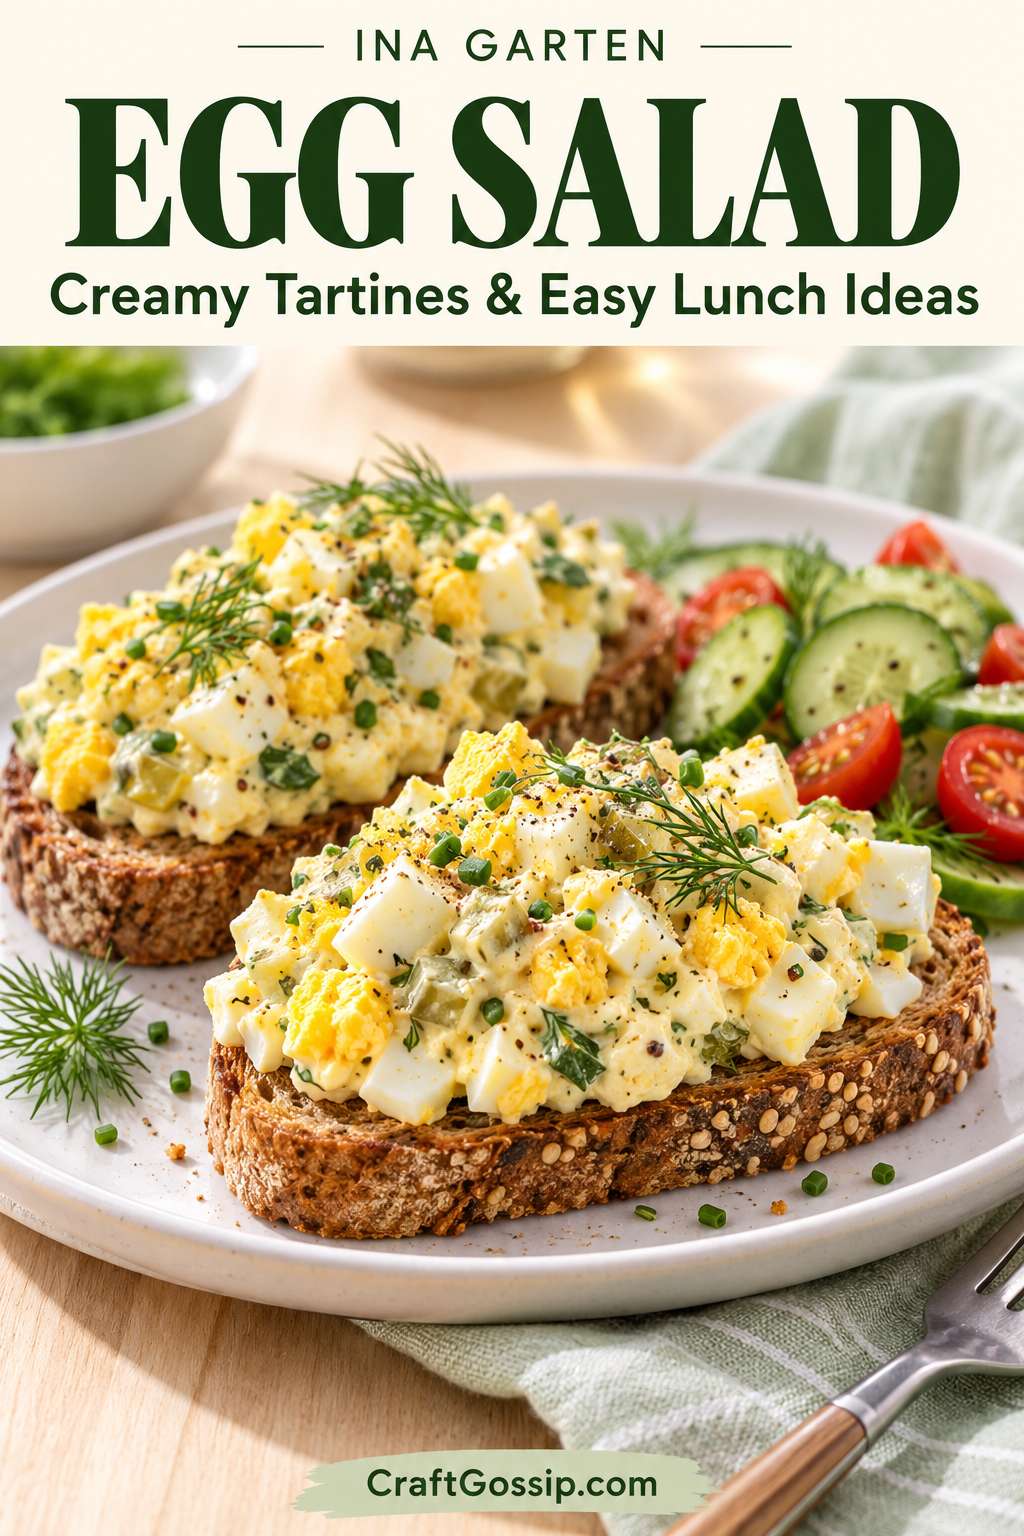
Egg salad is one of those lunches we sometimes forget about until we have a few boiled eggs sitting in the fridge. Then suddenly it sounds like exactly what we want. Creamy filling, decent bread, perhaps a little greenery on the side. Nothing complicated, just a proper lunch.
If you’ve been searching for the Ina Garten egg salad recipe, her Egg Salad Tartines are a lovely place to start. They take a familiar sandwich filling and serve it generously on toasted bread, with fresh herbs giving the finished dish a little lift.
And before the word “tartine” makes you think you need special equipment or a French kitchen, it simply means an open-faced sandwich. We can absolutely manage that.
You’ll find the full ingredient quantities and instructions in Ina Garten’s official Egg Salad Tartines recipe. Here’s what to know before making it, plus easy ways to serve egg salad for lunch, brunch or a small gathering.
What Is in Ina Garten’s Egg Salad?
The version published on the Barefoot Contessa website uses eggs, mayonnaise, sweet relish, whole-grain mustard and fresh dill or chives, with salt and pepper for seasoning.
It’s served on toasted whole-grain bread. The recipe makes six tartines, serving three to six people, depending on appetites and what else you put on the table.
The sweet relish is worth noticing if your usual egg salad is simply eggs and mayonnaise. It brings a different flavor to the filling, while the mustard and herbs help balance the richness.
Does Ina Garten Put Truffle Butter in Egg Salad?
You may also have seen recent articles discussing an Ina Garten egg salad variation with white truffle butter.
That is a different version from the Egg Salad Tartines recipe linked above. The published tartine recipe uses sweet relish and whole-grain mustard and does not list truffle butter.
If you’re following a particular video or recipe, stick with that version’s ingredients. Combining details from several recipes can leave you wondering why your lunch tastes nothing like the one you
I would love this mixer
My husband wanted homemade rice pudding, his mothers recipe. I got her recipe, and made it. The recipe said add all ingredients and cook 1 hour in dbl. boiler. No problem, after 1 hour it was still runny and didn’t look right, so I called my mother-in-law and asked what I did wrong. We finally figured it out. I used minute rice instead of reg long grain rice. The minute rice doesn’t have starch like the long grain rice to give the pudding its proper consistency. It took 3 hrs to make not 1 hour.
I love cooking and baking but I still do everything by hand!! So frustrating at times but I just couldnt affort such a handy piece of equiptment! It would be such a handy gift, I am already dreaming of the surprises I could create if I had such a mixer…….
Every Christmas I make hundreds of cookies as gifts with only my hand mixer! This would be a dream come true!
I am finding myself an “instant empty nester” as my twin boys went off to college and I would love a KitchenAid mixer to start baking and freezing things for when my boys come home or I can ship cookies, etc. to them. Great way to start making things ahead for the holidays too!
I love to entertain and never have a problem creating savory dishes. The problem is sweets. This wonderful kitchenaid will eliminate that problem. I will be able to bang out some sweet delights for my family and friends to enjoy that are homemade. Thanks…sw?
I have been making a lot of bread lately, and this KitchenAid 7qt. mixer is just what I need so I can make several loaves at one time and freeze them. My hubby is so proud of my blueberry muffins, awesome raisin bread, and iced cinnamon rolls, he brings them all to work to share, and I can’t keep up with the demand. I would love to win this!
id really really like to win this… i love baking
I would definitely use this along with all the sugarlicious treats in your wonderful cookbook 🙂
This mixer would be great for lots of cookie dough and cake batter. I have a very cheap mixer that is going to die before long.
Hi, I. would love this prize because my mom has been saying she would love one so she could cook dough easily and all that kinda stuff. It would be an awesome present for her because she’s done so much for me and i’d love to give back to her.
Thank You