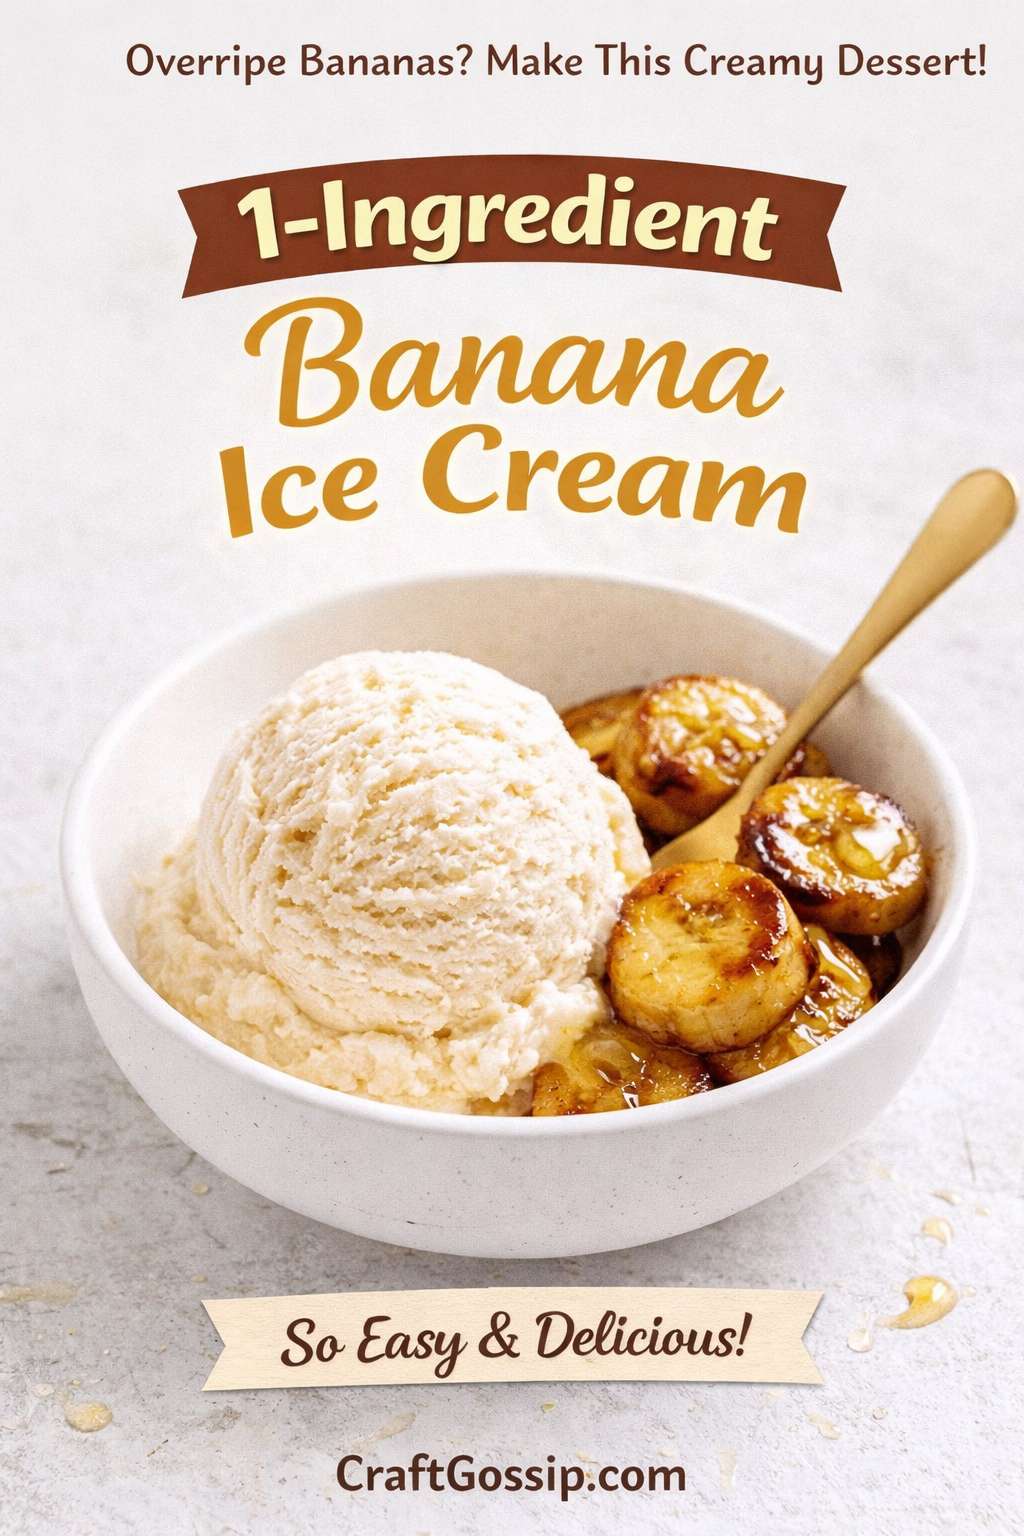
There is something deeply satisfying about turning sad, spotty bananas into dessert.
Not banana bread. Not muffins. Actual creamy banana ice cream made with just one ingredient.
If you’ve never tried this little freezer trick before, it feels a bit like kitchen magic. You freeze ripe banana pieces, blend them, keep blending through the “this is never going to work” stage, and suddenly they transform into a soft, silky, scoopable treat that looks surprisingly close to real ice cream. The Kitchn has long featured this method, and other recipe sources describe the same simple process: freeze bananas, then blend until smooth and creamy.
What I love about this recipe is that it is practical, cheap, and perfect for using up bananas that are one day away from being ignored forever on the bench. It is also one of those recipes that feels clever without being fussy, which is honestly my favorite type of kitchen win.
What is one-ingredient banana ice cream?
One-ingredient banana ice cream, often called nice cream, is simply frozen bananas blended until they become smooth and creamy. Multiple recipe sources describe it as a dairy-free frozen dessert made entirely from bananas, with a texture similar to soft serve when freshly blended.
The reason it works so well is texture. Frozen bananas blend into a thick, creamy puree rather than an icy slush, and food writers regularly note that the result can feel surprisingly close to soft-serve ice cream. Serious Eats also notes that a food processor usually gives a lighter, silkier result than many blenders because the wider bowl helps the fruit process more evenly.
Ingredients
- 4 ripe bananas
That’s it.
The riper the bananas, the sweeter your finished ice cream will taste. Several guides recommend using ripe bananas for the best flavor and freezing them until fully firm before blending.
How to make 1-ingredient banana ice cream
1. Peel and slice the bananas
Cut the bananas into coins or chunks. Smaller pieces freeze faster and are easier on your machine when it is time to blend. Sources describing this method typically call for peeling first, then slicing or cutting into small pieces before freezing.
2. Freeze until solid
Spread the banana pieces on a tray or plate, or place them in a container or freezer bag, and freeze until firm. Recipes commonly suggest at least a couple of hours, though overnight is ideal for convenience.
3. Blend in a food processor
Add the frozen banana pieces to a food processor and blend. At first they will look crumbly. Then lumpy. Then suspiciously gluey. Keep going and scrape down the sides as needed. Eventually the mixture will turn smooth, creamy, and soft-serve-like. That transformation is the whole charm of this recipe, and it is consistently described across the major versions of this technique.
4. Serve immediately or freeze for later
For a soft-serve texture, eat it straight away. For a firmer, more scoopable texture, transfer it to a container and freeze for another hour or two before serving. Other recipes using the same method suggest this extra freeze if you prefer a more traditional scoop.
Tips for the creamiest banana ice cream
Use very ripe bananas
Those brown-speckled bananas are exactly what you want here. Riper bananas taste sweeter and more dessert-like, which matters when banana is your only ingredient.
A food processor usually works better than a standard blender
Serious Eats specifically recommends a food processor for a lighter, silkier texture and says it handles frozen bananas more effectively than many blenders.
Let rock-hard bananas sit briefly if needed
If your banana chunks are frozen into a solid brick, give them a short rest before processing. This can make them easier to break apart and easier on the blade.
Don’t panic during the crumbly stage
This recipe always looks wrong before it looks right. That awkward in-between stage is normal.
Easy flavor variations
Once you’ve made the basic version, you can dress it up any way you like. The Kitchn’s related coverage and other banana ice cream recipes suggest mix-ins like nut butters, chocolate, and fruit.
Try adding:
- peanut butter
- Nutella
- cocoa powder
- strawberries
- cinnamon
- chocolate chips
- chopped nuts
- a drizzle of honey or maple syrup
Serve It with Honey Roasted Bananas from the Air Fryer
If you want to make this 1-ingredient banana ice cream feel a little more special, serve it with a side of honey roasted bananas made in the air fryer. This is one of those easy little upgrades that makes a simple frozen dessert feel far more put-together, without adding much effort at all.
The warm bananas and the cold creamy ice cream work beautifully together. You get that soft caramelized texture from the heat, a little extra sweetness from the honey, and a dessert that feels much more like something you’d order at a café than something you whipped up from overripe bananas in your kitchen.
And yes, it also happens to be a very good way to use up even more bananas before they reach that point of no return.
How to Make Honey Roasted Bananas in the Air Fryer
You’ll need:
- 2 ripe but still firm bananas
- 1 to 2 tablespoons honey
- 1 teaspoon melted butter or coconut oil
- 1/2 teaspoon cinnamon, optional
Method
Peel the bananas and slice them lengthways or into thick diagonal chunks, depending on how you want to serve them.
In a small bowl, gently toss the banana pieces with the honey, melted butter, and cinnamon if using. Be gentle here because ripe bananas love to fall apart the second you look at them too confidently.
Place the coated bananas in a single layer in your air fryer basket, ideally on parchment or a liner if your basket tends to stick.
Air fry at 180°C / 350°F for 6 to 8 minutes, checking halfway through. You want the bananas to be golden, glossy, and lightly caramelized around the edges, but not completely collapsing into mush.
Let them cool for a minute or two, then serve alongside a scoop of the banana ice cream.


It really does work- I made some last night for my kiddo & I with peanut butter and cocoa. YUM. The food processor works much better than a blender, though.
I think I need to try it with nutella 😉