 S
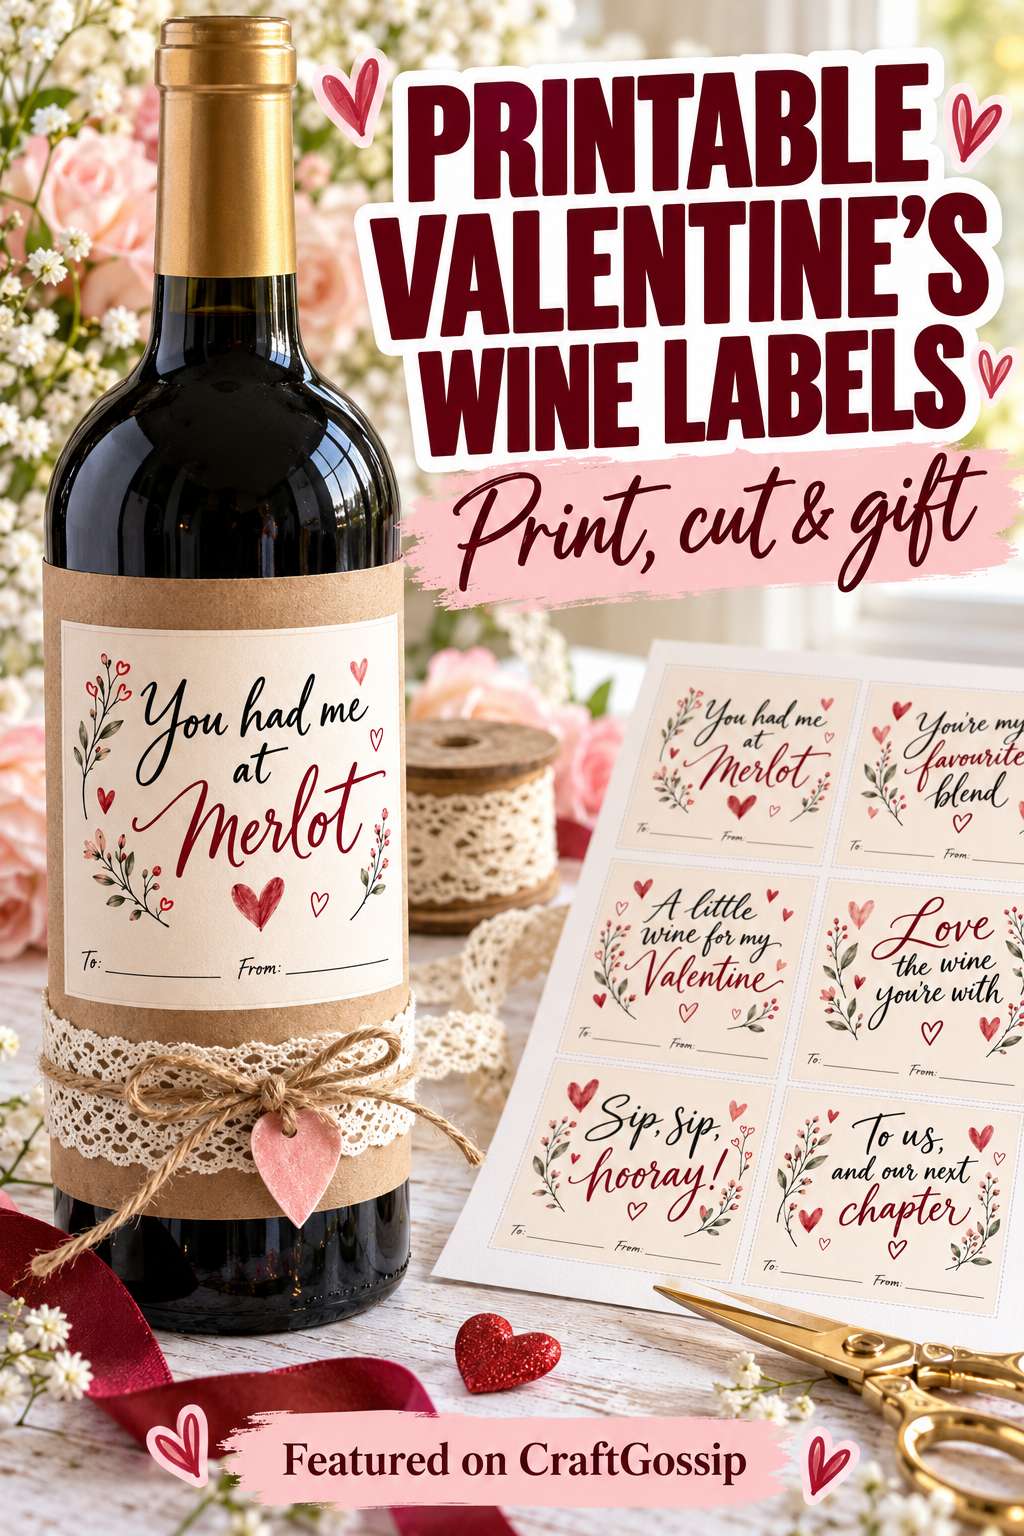
ometimes the nicest Valentine’s gift starts with something simple: a favourite bottle, a thoughtful message and a few supplies from the craft cupboard. You don’t need elaborate packaging to make it feel personal. A handmade wine label can turn an ordinary bottle into a gift that looks as though you’ve put a little extra care into it.
I love this idea because the message does most of the work. You can choose a playful wine pun, write something affectionate or add a little reference that only the two of you will understand. The paper, ribbon and embellishments simply give those words a lovely place to sit.
The original inspiration comes from Make the Best of Everything’s Valentine wine and tea gift ideas. Kristen used paper-bag wrapping, stamped wording and decorative trim to personalise a bottle.
The method below is an expanded adaptation using a removable paper sleeve. It’s a useful way to decorate the bottle without needing to scrape off its existing label, and you can adjust the colours and message to suit the person receiving it.
Materials
- An unopened bottle of wine or another favourite bottled drink
- Kraft paper or a clean, unprinted section of a paper bag
- White or cream paper for the message panel
- Red or pink cardstock
- Scissors
- Ruler or measuring tape
- Pencil
- Black pen or alphabet stamps and ink
- Double-sided tape
- Glue stick
- Optional lace, ribbon or twine
- Optional heart punch
How to Make Valentine’s Wine Labels
1. Measure Your Bottle
Wrap a strip of scrap paper around the straight section of the bottle to check the circumference. Mark where the ends meet, then allow a little extra length for an overlap.
Choose a wrapper height that fits below the shoulders of the bottle. Keep the sleeve on the straight section so the paper sits smoothly.
2. Cut the Kraft Paper Sleeve
Transfer your measurements to the kraft paper and cut a rectangle.
Test the fit around the bottle before decorating. The sleeve should sit neatly without needing to be stretched or forced into place.
If you’re reusing a paper bag, avoid folded seams and heavily creased sections where possible.
3. Create Your Message Panel
Cut a smaller rectangle of white or cream paper, leaving enough kraft paper visible around the edges to create a simple frame.
Write or stamp your message while the panel is still flat. Sketch the layout lightly in pencil first if you want to check the spacing.
Let any ink dry before handling it.
4. Add Hearts and Trim
Glue the message panel to the front of the kraft paper.
Add a small cardstock heart, a few drawn hearts or a narrow strip of lace. Keep the main wording clear and leave some empty space around it.
For a cleaner style, a single heart beneath the message may be all you need.
5. Secure the Sleeve
Wrap the decorated paper around the bottle and join the overlapping ends with double-sided tape.
Attach the paper to itself rather than directly to the bottle. This creates a removable sleeve so the recipient can still access the original label.
6. Finish With a Tag
Tie a short piece of ribbon or twine around the neck and add a small gift tag if you’d like.
Keep the closure accessible, and check that any glued decorations are secure before placing the bottle in a gift bag.
Valentine’s Wine Label Message Ideas
Choose a message that suits your relationship and the bottle you’re giving:
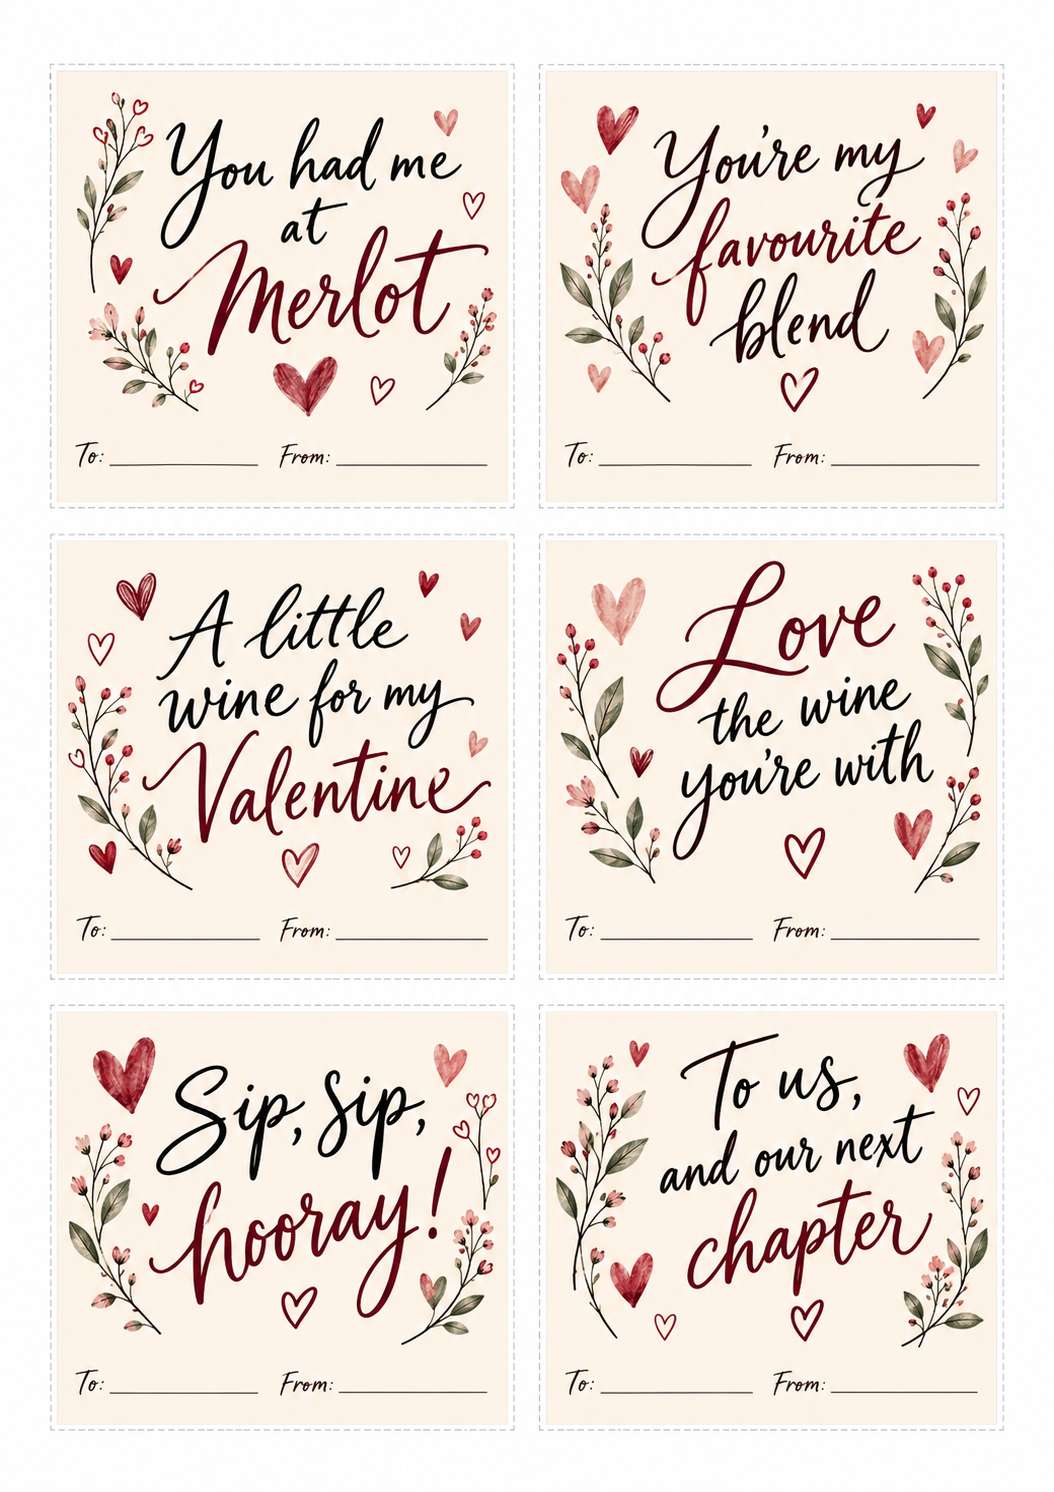
- You had me at Merlot.
- You’re my favourite blend.
- A little wine for my Valentine.
- To us, and all our next chapters.
- My favourite person to share a glass with.
- A bottle of something lovely for someone lovely.
A personal sentence can be just as effective as a pun. Add a date, a shared memory or a short handwritten note on the back of the sleeve.
Easy Ways to Change the Style
Rustic: Use kraft paper, cream lace and twine.
Classic Valentine’s: Pair white paper with red hearts and a neat handwritten message.
Soft and romantic: Choose blush pink, cream and a narrow satin ribbon.
Simple and modern: Use one bold message, one small heart and plenty of white space.
Try arranging the pieces before gluing them down. A restrained design often looks more polished than adding every embellishment you have available.
Tips for a Neater Finish
Decorate the wrapper while it’s flat, especially if you’re stamping or drawing borders.
Check the message panel against the bottle before attaching it. Very wide panels can curve around the sides and make the wording harder to read.
Ordinary paper wrappers can be damaged by condensation. For a drink that needs chilling, chill it first and dry the bottle thoroughly before adding the sleeve shortly before gifting. Remove the paper decoration before placing the bottle in an ice bucket.
Adapt the Idea for Other Gifts
The same approach works for sparkling juice, an alcohol-free drink, a jar of treats or a box of tea. Measure the packaging first and tailor the message to the contents.
For tea, decorate the outside of the box or add a tag to a wrapped bundle of individually packaged tea bags. Keep craft materials separate from anything that will be steeped or eaten.
A Small Detail That Makes the Gift Personal
This is a lovely project for using up paper scraps, a leftover length of ribbon or a little lace you’ve been saving. The supplies don’t need to be expensive, and the lettering doesn’t need to be perfect.
What makes the finished bottle special is the thought behind it: choosing something the recipient enjoys and adding words meant just for them. Pair it with a handwritten card, and you have a simple Valentine’s gift with a distinctly handmade touch.