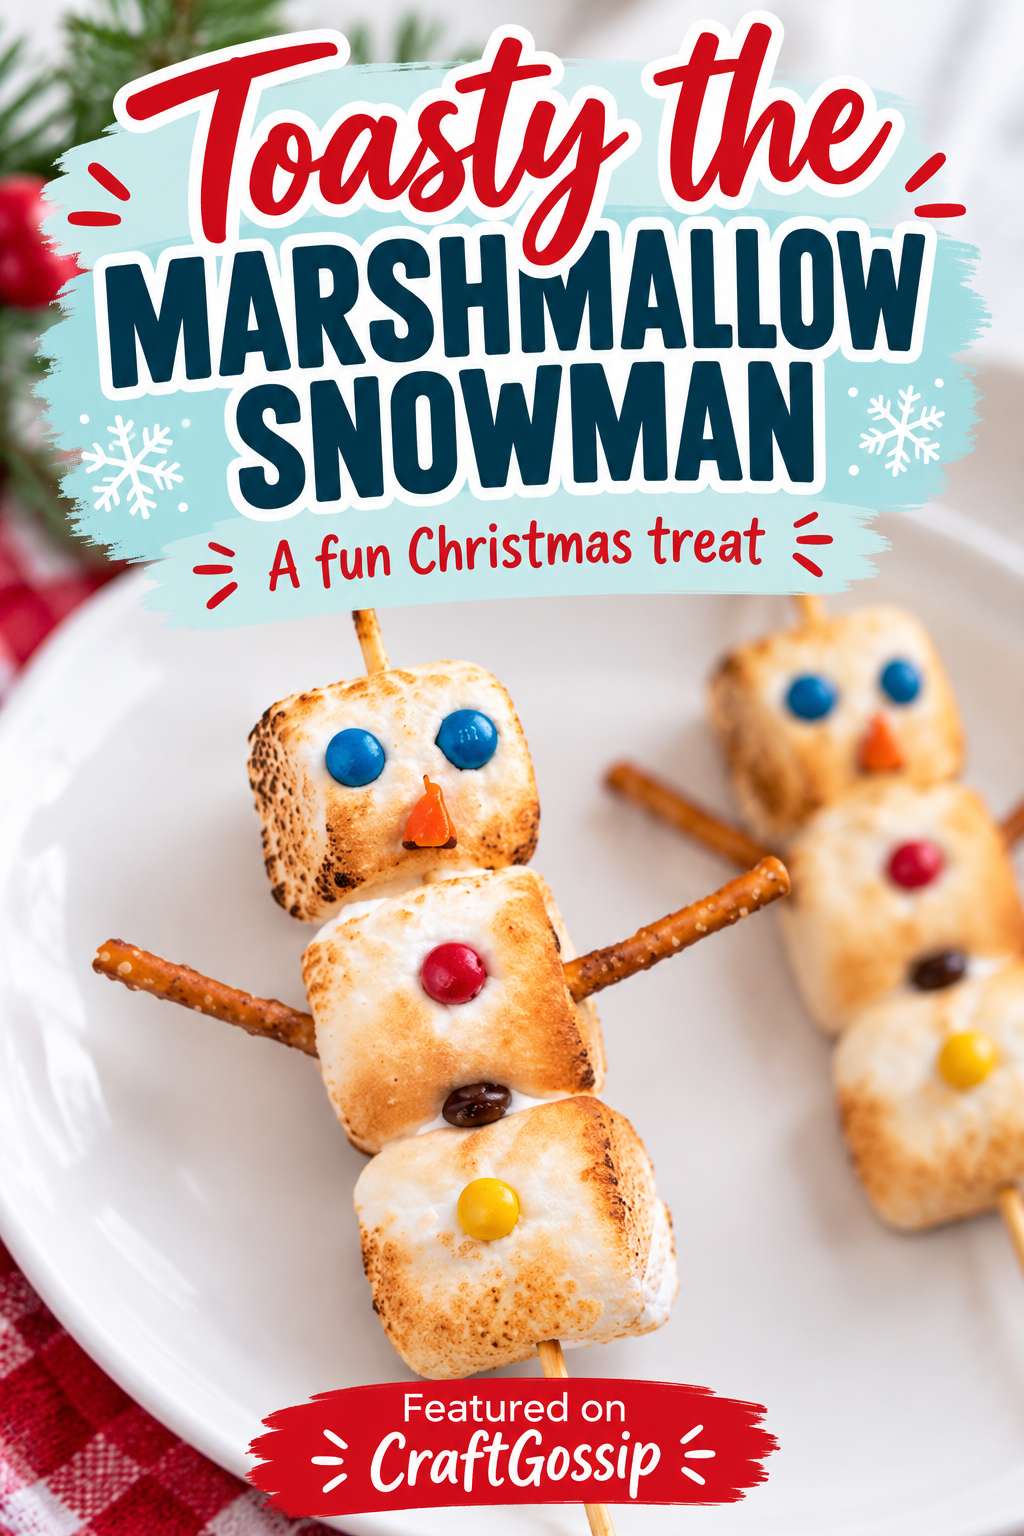
Most snowmen prefer the cold, but this little fellow has clearly been warming himself by the fire. With his golden marshmallow body, pretzel-stick arms and colourful candy buttons, Toasty is a wonderfully cheeky Christmas treat.
I love how much personality you can create with just a few ingredients. Two candy eyes and a little orange nose turn an ordinary marshmallow into a face, while three stacked together give you that familiar snowman shape. There’s no elaborate icing work involved, and slightly uneven toasting only adds to his character.
These would be fun for a Christmas movie afternoon, a winter party or a small family decorating session. Even here in Australia, where Christmas is hardly snowman weather, we can still build the edible variety.
What You’ll Need
For each snowman:
- 3 large marshmallows
- 2 thin pretzel sticks
- 2 small candies for eyes
- 2–3 small candies for buttons
- A small orange candy piece for the nose
- A little thick icing or melted chocolate for attaching decorations
- A food-safe bamboo skewer
You’ll also need a lined baking tray, a plate and access to an oven grill or broiler.
Suggested Method
These instructions are a suggested way to recreate the supplied photograph.
1. Lightly Toast the Marshmallows
Place the marshmallows separately on a lined tray, using a liner suitable for your appliance’s grill setting. Briefly toast until lightly golden, watching continuously because they brown quickly.
An adult should handle this step. Remove the tray and let the marshmallows cool until safe to touch and firm enough to handle.
2. Build the Snowman
Carefully thread three marshmallows onto a bamboo skewer to form the head, middle and bottom.
If they are still very soft, allow more cooling time. Rest the snowman flat on a plate while decorating.
3. Add the Pretzel Arms
Gently insert a short pretzel stick into each side of the middle marshmallow. Keep the arms fairly short so they are less likely to snap.
4. Give Him a Face
Use tiny dots of thick icing or cooled melted chocolate to attach two candy eyes and an orange candy nose to the top marshmallow.
5. Add the Buttons
Attach colourful candies down the front of the body. Let the icing or chocolate set before moving the finished snowman.
Serving Your Marshmallow Snowmen
Serve them lying flat on a platter so the arms stay supported. Add a little card reading “Toasty the Snowman” for a playful finishing touch.
Assemble close to serving time for the best texture. Remove the skewer before eating, and choose decorations suitable for the recipient’s age.
For another festive marshmallow idea, explore our mixed-up snowman snacks. You can also browse our snowman hot chocolate bomb feature for a different take on the theme.
What makes Toasty so appealing is that he doesn’t need to look perfect. A crooked arm or slightly lopsided face gives him personality. Set out the decorations, build a few together, and enjoy a Christmas activity with something sweet at the end.
Image Alt Text: Toasted marshmallow snowman on a skewer with pretzel arms, blue candy eyes, an orange nose and colourful candy buttons.