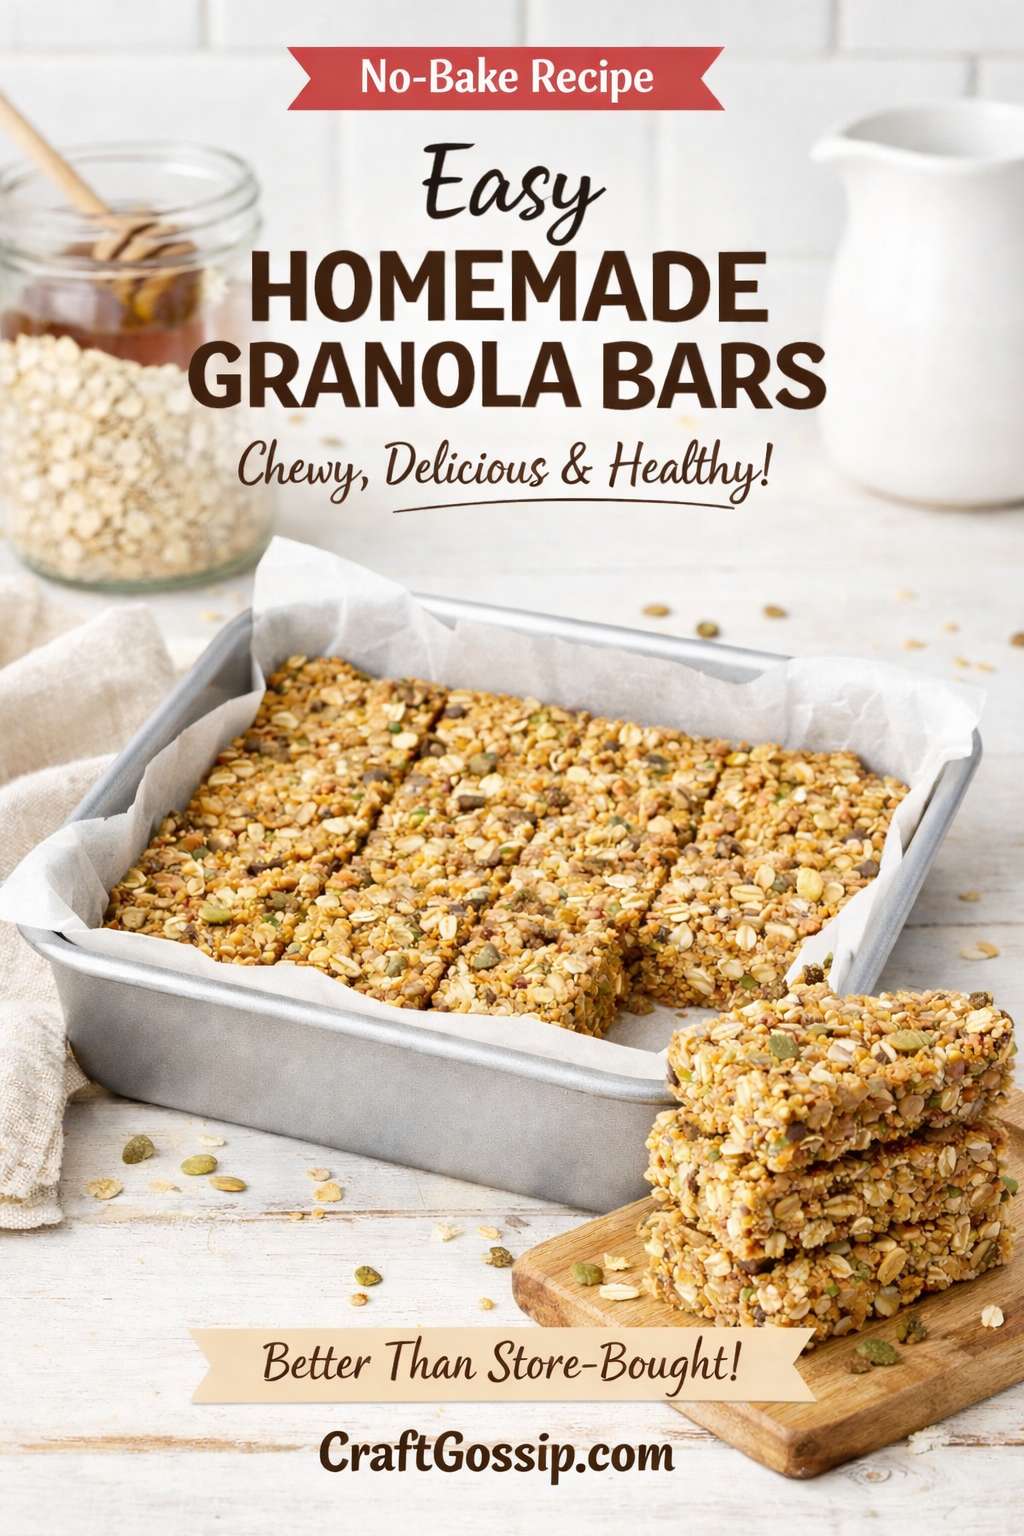
There is something very satisfying about making your own snacks from scratch, especially when they turn out better than the boxed version. And homemade granola bars really do. They are chewy, hearty, easy to customize, and you can make a batch with pantry staples in less time than it takes to wander the snack aisle pretending you are reading labels for health reasons.
I love a recipe like this because it feels practical. It is the kind of thing you can make once and then pat yourself on the back all week when nobody is asking where the snacks are. These bars are great for lunchboxes, after-school nibbling, quick breakfasts, road trips, and those “I need something sweet but not too ridiculous” moments around 3pm.
The best part is that once you know the basic formula, you can make them your way. Chocolate chip granola bars, nut-free granola bars, fruit and seed granola bars, peanut butter granola bars, even a version that feels a little more wholesome when you are trying to be organized and healthy for at least one afternoon.
Why Homemade Granola Bars Are Worth Making
Store-bought granola bars can be convenient, but they are often expensive for what they are, and plenty of them are either too sweet, too crumbly, or weirdly dry. Homemade granola bars let you control the texture, sweetness, and mix-ins, which makes a big difference.
They are also brilliant for using what you already have in the pantry. A half bag of oats, the last scoop of peanut butter, a few seeds, a handful of choc chips that somehow survived baking season. This recipe turns all of that into something useful.
And let’s be honest, homemade snacks just feel a bit more generous. They look like effort, even when they are actually very easy.
What Makes a Good Granola Bar?
A good granola bar should do three things well.
First, it should hold together when you bite into it. Nobody wants a snack that turns into lap confetti.
Second, it should have a chewy texture with a little bit of crunch. Soft enough to enjoy, sturdy enough to travel.
Third, it should taste like a treat, even if it is made with simple ingredients. Oats, nut butter, honey, vanilla, and a pinch of salt are a very reliable combination for that.
Ingredients for Homemade Granola Bars
This easy homemade granola bars recipe uses simple pantry ingredients and gives you that chewy, slightly sweet texture most people actually want.
You will need:
- 2 1/2 cups rolled oats
- 1 cup natural peanut butter or cashew butter (I am loving this one at the moment- Sea Salt Cashew Butter)
- 2/3 cup honey
- 1 teaspoon vanilla extract
- 1/2 teaspoon sea salt
- 1/3 cup mini chocolate chips
- 1/4 cup pepitas, chopped nuts, or sunflower seeds
Optional add-ins:
- shredded coconut
- dried cranberries
- chopped apricots
- chia seeds
- flaxseed meal
- cinnamon
- chopped dark chocolate
Best Oats for Granola Bars
Rolled oats work best for chewy homemade granola bars. Quick oats can make the mixture too soft, while steel-cut oats are too hard and dry for this style of recipe.
If you need the bars to be gluten-free, use certified gluten-free rolled oats.
How to Make Homemade Granola Bars
These bars are no-bake, which makes them especially handy for warmer days, busy weeks, or anyone who does not want to turn on the oven just to make snacks.
Step 1: Prepare the pan
Line an 8×8-inch pan or square container with parchment paper. Leave a little overhang so you can lift the bars out easily later.
Step 2: Mix the sticky ingredients
In a large bowl, stir together the peanut butter, honey, vanilla, and salt until smooth and well combined. If your nut butter is very stiff, microwave it for 10 to 15 seconds first so it blends more easily.
Step 3: Add the dry ingredients
Stir in the rolled oats, chocolate chips, and seeds or chopped nuts. The mixture will seem thick, but keep going. You want everything well coated so the bars hold together properly.
Step 4: Press very firmly
Tip the mixture into the lined pan. This part matters more than people think. Press it down very firmly using the back of a spoon, a spatula, or the bottom of a measuring cup. Really pack it in.
This is one of the main secrets to granola bars that do not fall apart.
Step 5: Chill
Place the pan in the fridge for at least 1 hour, or until fully firm.
Step 6: Slice into bars
Lift the chilled mixture out of the pan and cut into bars or squares. Store them chilled for the best texture.
How to Keep Granola Bars From Falling Apart
This is the question everyone ends up asking, because crumbly granola bars are a tiny kitchen heartbreak.
Here is what helps:
Use a runny nut butter
Natural peanut butter that is smooth and stirrable works much better than a dry, dense one.
Do not reduce the sticky ingredients too much
Honey and nut butter are doing the hard work here. If you cut them back too far, the bars will not bind properly.
Chop bulky add-ins small
Big chunks of nuts or dried fruit can stop the bars from holding together neatly.
Press the mixture firmly
Not casually. Firmly. More firmly than seems necessary.
Chill before cutting
Trying to cut them too early is a fast path to frustration.
Are Homemade Granola Bars Healthy?
Homemade granola bars can be a healthier snack option than many packaged versions because you control the ingredients and the sweetness. They still contain natural sugars and fats, so I would call them a balanced snack rather than pretending they are lettuce in bar form.
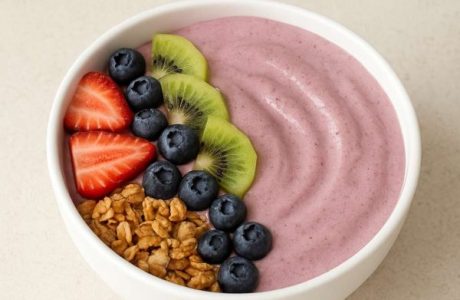
They are especially useful when you want a more filling snack with oats, protein, and healthy fats. Pair one with fruit or yogurt and it becomes a very decent breakfast on a rushed morning.
Easy Granola Bar Variations
One of the best things about this homemade granola bars recipe is how easy it is to adapt.
Peanut Butter Chocolate Chip Granola Bars
Use peanut butter, mini chocolate chips, and a pinch of cinnamon for a classic version.
Nut-Free Granola Bars
Swap the nut butter for sunflower seed butter and use pumpkin seeds or sunflower seeds.
Fruit and Seed Granola Bars
Replace the chocolate chips with chopped dried cranberries, raisins, or apricots.
Coconut Granola Bars
Add shredded coconut and chopped dark chocolate for a slightly more indulgent version.
Lunchbox Granola Bars
Keep the flavors simple and avoid large chunks so they are easier for kids to eat neatly.
Can You Bake These Granola Bars?
Yes, though this version is designed as a no-bake granola bar recipe. If you prefer a firmer baked texture, press the mixture into the pan and bake at a moderate temperature until lightly golden, then cool completely before slicing.
That said, the no-bake version is faster, easier, and keeps a lovely chewy texture.
How to Store Homemade Granola Bars
Store the bars in an airtight container in the fridge for up to 1 week. If stacking them, place parchment paper between layers so they do not stick.
You can also freeze them for up to 2 months. Let them sit at room temperature for a short time before eating if you prefer a softer bite.
Common Mistakes to Avoid
A few little things can make a big difference.
Using dry nut butter is one. Not pressing the mixture firmly enough is another. Adding too many chunky mix-ins can also make the bars crack when sliced.
And possibly the biggest one of all: trying to cut them before they are fully chilled because you are impatient and convinced this time it will be fine. It will not be fine.
Homemade Granola Bars Recipe
Ingredients
2 1/2 cups rolled oats
1 cup natural peanut butter or cashew butter
2/3 cup honey
1 teaspoon vanilla extract
1/2 teaspoon sea salt
1/3 cup mini chocolate chips
1/4 cup pepitas, sunflower seeds, or chopped nuts
Instructions
Line an 8×8-inch square pan with parchment paper.
In a large mixing bowl, stir together the peanut butter, honey, vanilla extract, and salt until smooth.
Add the rolled oats, mini chocolate chips, and pepitas or chopped nuts. Stir until everything is evenly combined.
Transfer the mixture to the prepared pan and press it down very firmly into an even layer.
Place the pan in the refrigerator for at least 1 hour.
Lift the mixture out using the parchment paper, then slice into bars or squares.
Store in the fridge in an airtight container.
Recipe Notes
For sweeter bars, keep the chocolate chips. For a less sweet version, reduce the chocolate slightly and add extra seeds.
For nut-free granola bars, use sunflower seed butter instead of peanut butter.
For dairy-free bars, use dairy-free chocolate chips.
If your mixture feels too dry, add an extra spoonful of nut butter or honey. If it feels too wet, stir in a few more oats.