If sourdough starter has ever felt a little bit like kitchen witchcraft, you are not alone. One day it looks promising and bubbly, the next day it sits there like a jar of wet paste judging your life choices. The good news is that a homemade sourdough starter is not complicated. It is simply flour, water, warmth, and a little patience. A stable starter usually takes about a week or a bit longer to become reliably active, and warm room temperatures help it get moving faster.
The trick is not making it fancy. The trick is making it consistent.
Once you understand what your starter needs, the whole process becomes much less intimidating. You do not need a bakery setup, a sourdough degree, or a cupboard full of specialist gadgets. A jar, a spoon, a scale, flour, and water will get you started just fine. Using a kitchen scale makes feeding more accurate, and whole grain rye or whole wheat flour can help kickstart activity in the early days.
What Is a Sourdough Starter?
A sourdough starter is a live culture made from flour and water. As it sits and is fed regularly, it develops a stable community of wild yeast and beneficial bacteria. That culture is what helps sourdough bread rise and gives it that lovely tangy flavor.
In plain English, you are growing your own natural leavening.
No sachets, no shortcuts, no mystery powder. Just a bubbly little jar that, once established, can keep going for years with regular feeding. A mature starter can be kept at room temperature with daily feedings or stored in the fridge and fed weekly if you bake less often.
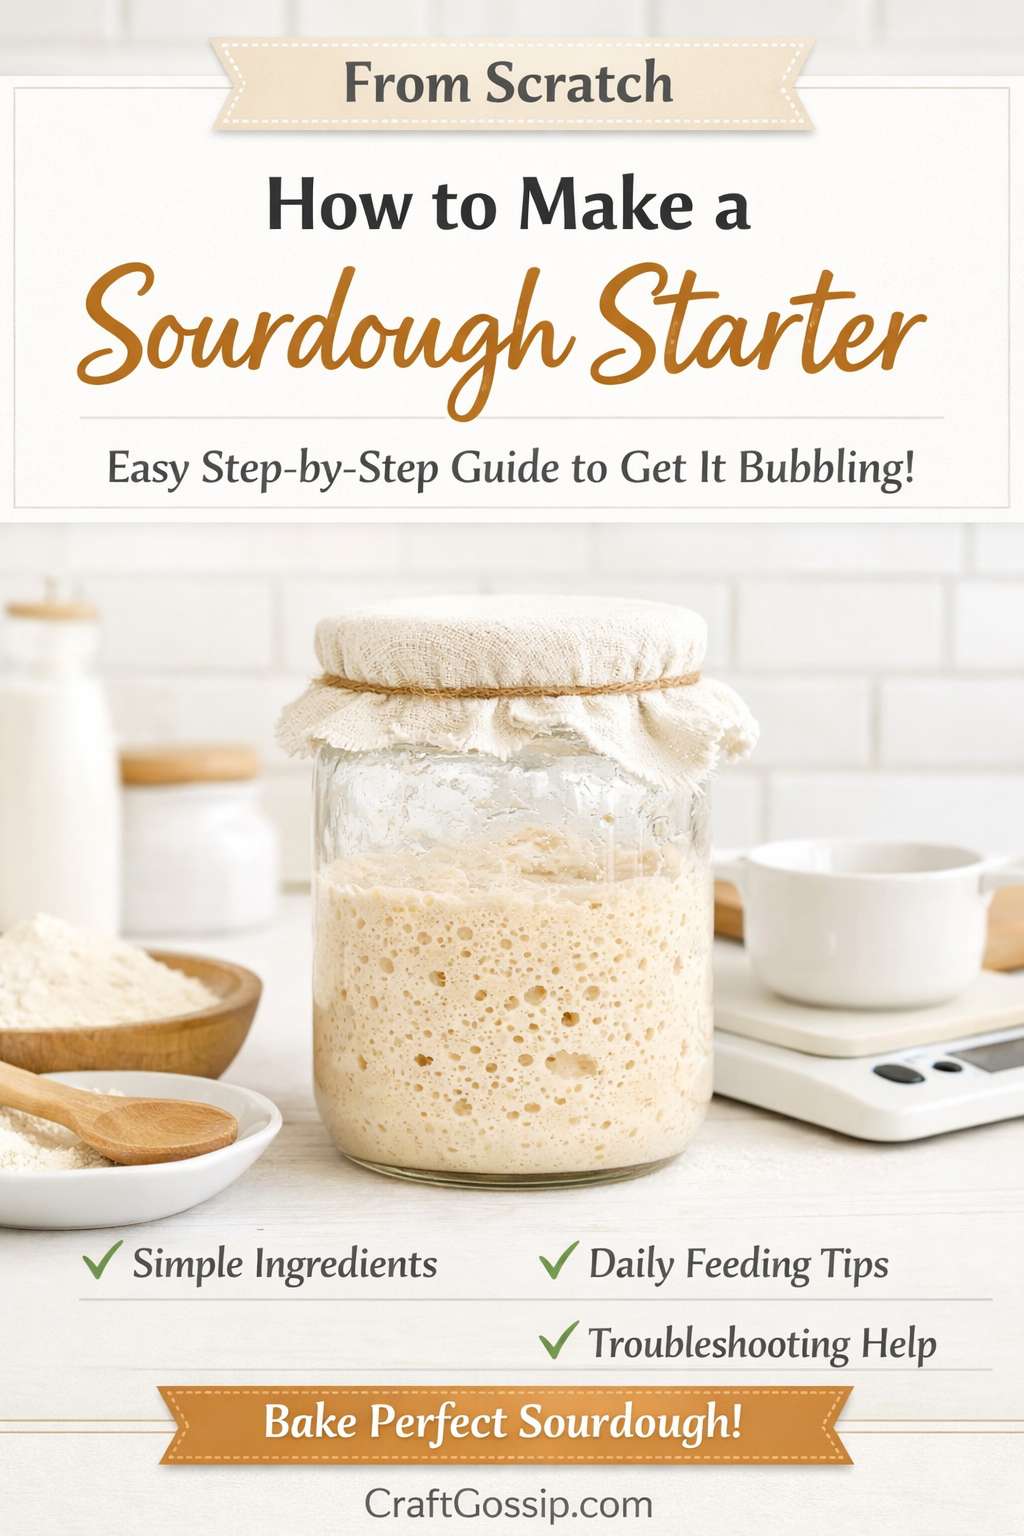
What You Need
- 1 clean glass jar with room for the starter to rise
- 1 kitchen scale
- Unbleached all-purpose flour
- Whole wheat or rye flour for the first few days
- Filtered, bottled, or dechlorinated water if your tap water is heavily treated
- Spoon or small spatula
Glass jars are helpful because you can actually see the bubbles and track how much your starter rises. Water can matter too. Chlorine may dissipate if water is left out overnight, but chloramine does not, so filtered or bottled water can be a safer choice if your starter seems sluggish.
Best Flour for Starting a Sourdough Starter
If you want to give your starter the best chance, begin with rye flour or whole wheat flour. These flours tend to contain more nutrients and microbes, which can help fermentation get going more quickly than plain white flour alone. After that, many bakers switch to regular unbleached all-purpose flour for ongoing feedings.
This is one of those little details that really can make the beginner stage less frustrating.
Day-by-Day Sourdough Starter Schedule
Here is a beginner-friendly method that keeps things simple and manageable.
Day 1
In a clean jar, mix:
- 50 grams whole wheat or rye flour
- 50 grams water
Stir until there are no dry patches. Scrape down the sides, cover the jar loosely, and leave it somewhere warm.
A temperature around 26°C helps fermentation move along much faster than a cool kitchen. If your house runs cold, placing the jar in a switched-off oven with the light on can help.
Day 2
You may see a few bubbles. You may also see absolutely nothing.
Both are normal.
Discard about half the mixture, then add:
- 50 grams flour
- 50 grams water
Stir well, cover loosely, and leave it again.
Day 3
Now things get weird. Some starters suddenly look very active at this stage, then seem to collapse and go quiet the next day. That early burst is common and does not mean your starter is fully mature yet. Keep feeding and do not start over just because the bubbles dip.
Discard about half, then feed again with:
- 50 grams flour
- 50 grams water
Days 4 to 6
Repeat the same feeding every 24 hours:
- Discard about half
- Feed 50 grams flour
- Feed 50 grams water
By now, your starter should begin smelling pleasantly tangy and showing more reliable bubbles. If it still seems very slow, warmth is usually the first thing to check.
Days 6 to 8
Once your starter is rising well, bubbly throughout, and doubling in volume within several hours of a feeding, it is getting close to ready. Many sourdough guides suggest that a healthy starter should expand significantly and then eventually fall back as it runs out of food.
At this stage, you can switch to feeding every 12 hours if it is active and you want to strengthen it faster.
How to Know When Your Starter Is Ready
Your starter is ready to bake with when it:
- looks bubbly throughout, not just on top
- rises predictably after feeding
- roughly doubles in volume
- smells pleasantly sour, fruity, or yeasty
- does not have mold or strange discoloration
The best sign is not a floating test or a magic trick. It is consistent growth after feeding. If it doubles reliably, it is doing its job. King Arthur Baking also describes maintenance with equal parts starter, flour, and water by weight as a common feeding method, which helps keep activity predictable.
Common Reasons a Sourdough Starter Fails
Your kitchen is too cold
This is probably the most common issue. Starters move far more slowly in cool kitchens. A warmer environment can make a dramatic difference.
You are giving up too early
A new starter often looks lifeless before it becomes active. That lull is normal.
You are not feeding by weight
Measuring flour with cups is less accurate than using a scale, and sourdough really does appreciate consistency.
Your water is the problem
If your tap water is heavily chlorinated or treated with chloramine, try filtered or bottled water for a few days.
Your jar is too small
A starter needs headspace. Give it plenty of room in case it suddenly decides to become an overachiever.
How to Feed a Sourdough Starter Once It Is Established
Once your starter is active, feeding is much simpler.
A common maintenance method is:
- keep 50 grams starter
- add 50 grams water
- add 50 grams flour
That 1:1:1 ratio by weight is widely used for routine maintenance. If you bake frequently, keep it at room temperature and feed it daily. If you only bake once a week, refrigerate it and feed it about once a week.
Can You Store Sourdough Starter in the Fridge?
Yes, absolutely.
Once established, your starter can live in the fridge between bakes. Let it start bubbling after a feeding, then refrigerate it in a covered container. Weekly feeding is a standard guideline for refrigerated starter maintenance.
This is the part most beginners are relieved to hear, because daily feeding forever sounds a bit like adopting a very needy flour pet.
What to Do With Sourdough Discard
You will usually remove some starter during feedings so the jar does not grow into a science experiment the size of a toddler. That removed portion is called sourdough discard.
You can use discard in:
- pancakes
- crackers
- muffins
- waffles
- flatbreads
Some bakers also keep a smaller starter to reduce waste, which can make sourdough feel much more manageable for home kitchens.
Troubleshooting Sourdough Starter Problems
My starter smells bad
A tangy, fruity, or slightly sharp smell is normal. Visible mold or pink, orange, or fuzzy growth is not. If you see mold or odd colors, throw it out and start again.
My starter has liquid on top
That liquid is often called hooch. It usually means your starter is hungry. Stir it in or pour it off, then feed the starter.
My starter is bubbly but not rising
Try moving it somewhere warmer and feed it regularly with consistent weights.
My starter rose once and then stopped
That early burst is common. Keep going. Many starters settle down before the yeast and bacteria balance out properly.
Easy Homemade Sourdough Starter Recipe Card
Ingredients
- 50 grams whole wheat or rye flour
- 50 grams water
For daily feedings
- 50 grams flour
- 50 grams water
Method
- Mix 50 grams flour and 50 grams water in a jar.
- Cover loosely and leave in a warm spot.
- Every 24 hours, discard about half.
- Feed with 50 grams flour and 50 grams water.
- Repeat until the starter is bubbly, rises well, and doubles predictably after feeding.
- Once active, continue feeding daily at room temperature or refrigerate and feed weekly.
Making your own sourdough starter is one of those kitchen skills that feels oddly impressive once you get the hang of it. It looks fussy from the outside, but it is really just a rhythm. Feed it, keep it warm, watch it grow, and try not to panic during the awkward middle phase. That part gets nearly everyone.
When it finally starts rising like it should, you will feel ridiculously proud of a jar of flour and water. And honestly, fair enough.