• Home
  • Suggest A DIY
  • DIY Newsletter

Edible Crafts

Creative food craft ideas

  • About CraftGossip
  • Our Network
    • Bath & Body Crafts
    • Candle Making Ideas
    • Crochet Ideas
    • Cross Stitch
    • Edible Crafts
    • Felting Patterns
    • Glass Art
    • Home & Garden Ideas
    • Indie Crafts
    • Jewelry Making
    • Kids Crafts
    • Knitting Patterns
    • Lesson Plans
    • Needlework
    • Party Ideas
    • Polymer Clay
    • Quilting Ideas
    • Recycled Crafts
    • Scrapbooking
    • Sewing Patterns
    • Card Making
    • DIY Weddings
    • Not Craft Ideas
  • Giveaways
  • Roundups
  • Store
  • Search

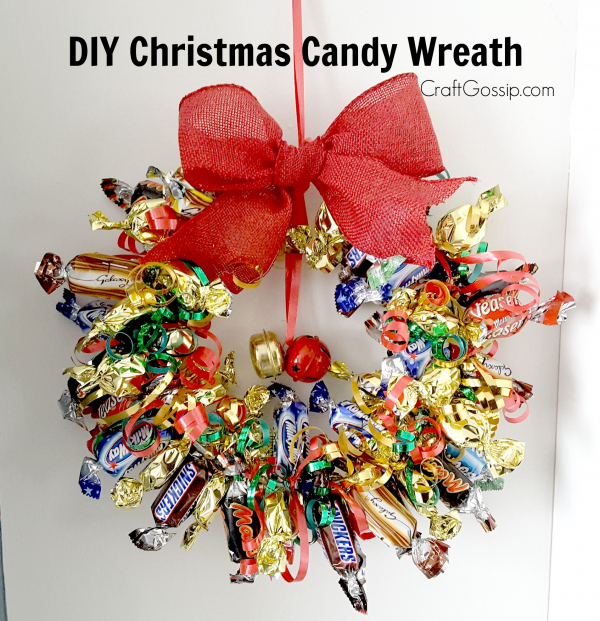
DIY Christmas Chocolate Candy Wreath

October 25, 2018 by Shellie Wilson

This Christmas wreath tutorial shows you how to make a Chocolate Candy bar Wreath. Now this wreath is not for your front door obviously but it is a yummy scrummy wreath for inside. This DIY Chocolate candy wreath is a great gift for neighbours and family who love chocolate. I love to give out Lolly tree’s to families at Christmas time. It is a gift that is for everyone in the family and just the price of some simple supplies and chocolates. Gifting a box of Chocolate in a handmade wreath or Christmas tree makes it that little bit extra special.

What you need –

One metal wreath ring or a bent coat hanger.

Some curling ribbon

A bow for the top

A box of Chocolates
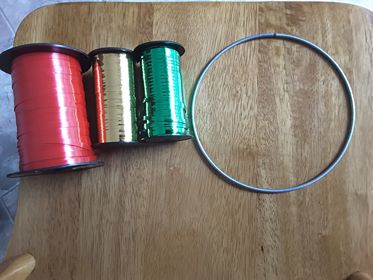
To create your wreath tie curling ribbon on to the ends of the Chocolate candy wrappers. You can either tie them directly to the ring or leave a small length and tie them on later after you have tied the ribbon to all the chocolates.  I prefer to tie them on as I go, but I do try and layout my color scheme first.

Keep tieing them on to the wreath ring until it looks full and is nice and thick.

Finish off your Candy Wreath with a Bow at the top and a loop for hanging. If you are using a coat hanger, simply bend the coat hook around to form the hanging loop.

Here are some of my Christmas Lolly Trees I have made and their free tutorials to share with you too.
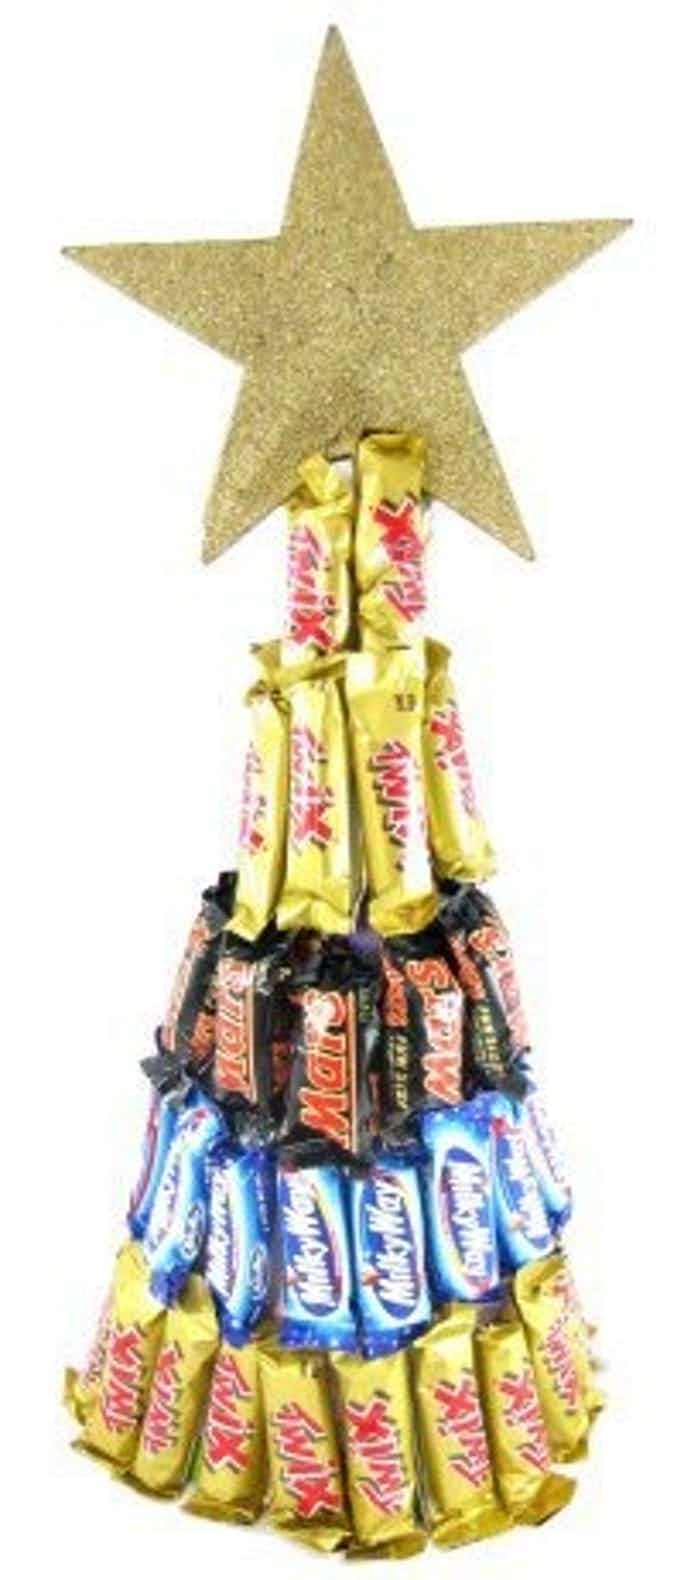
Candy bar Tree Tutorial
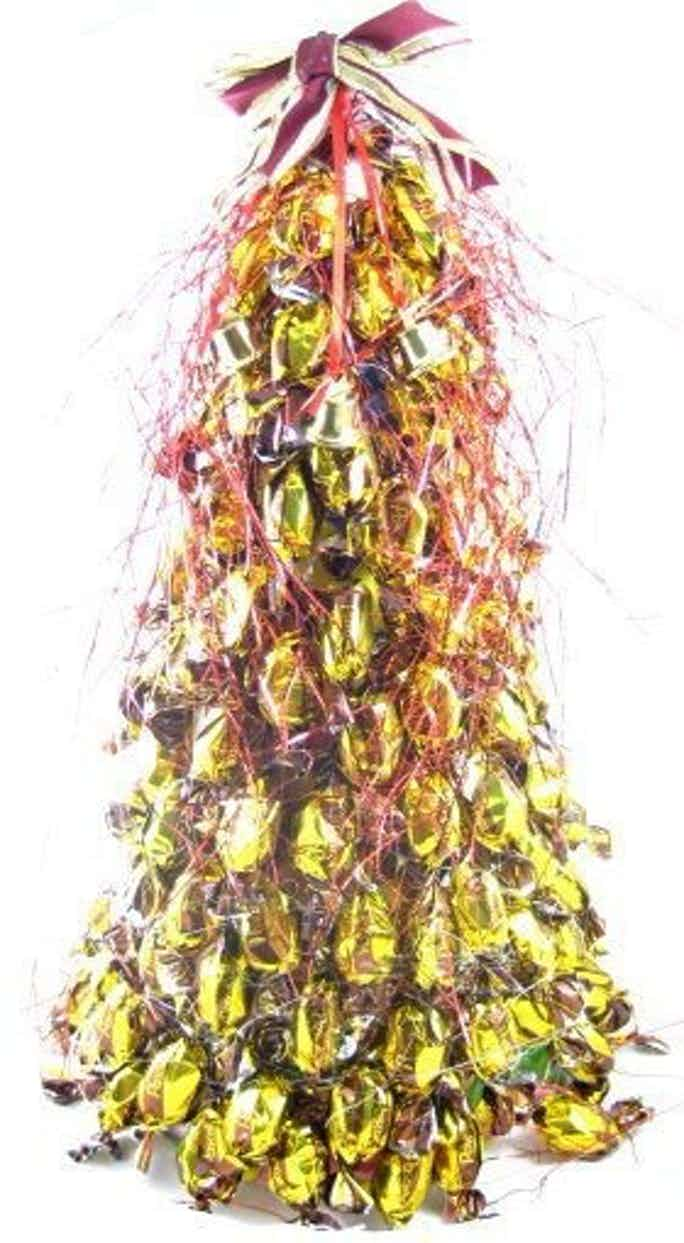
Wrapped Candy Christmas tree Tutorial
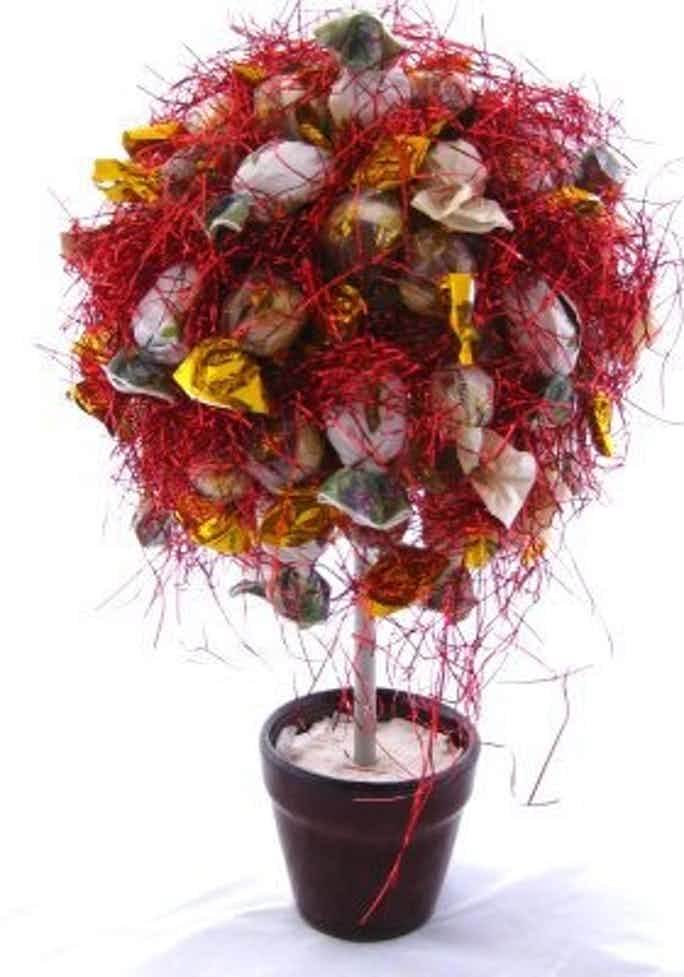
Mintie Wrapped Lolly Candy Christmas Topiary Tree
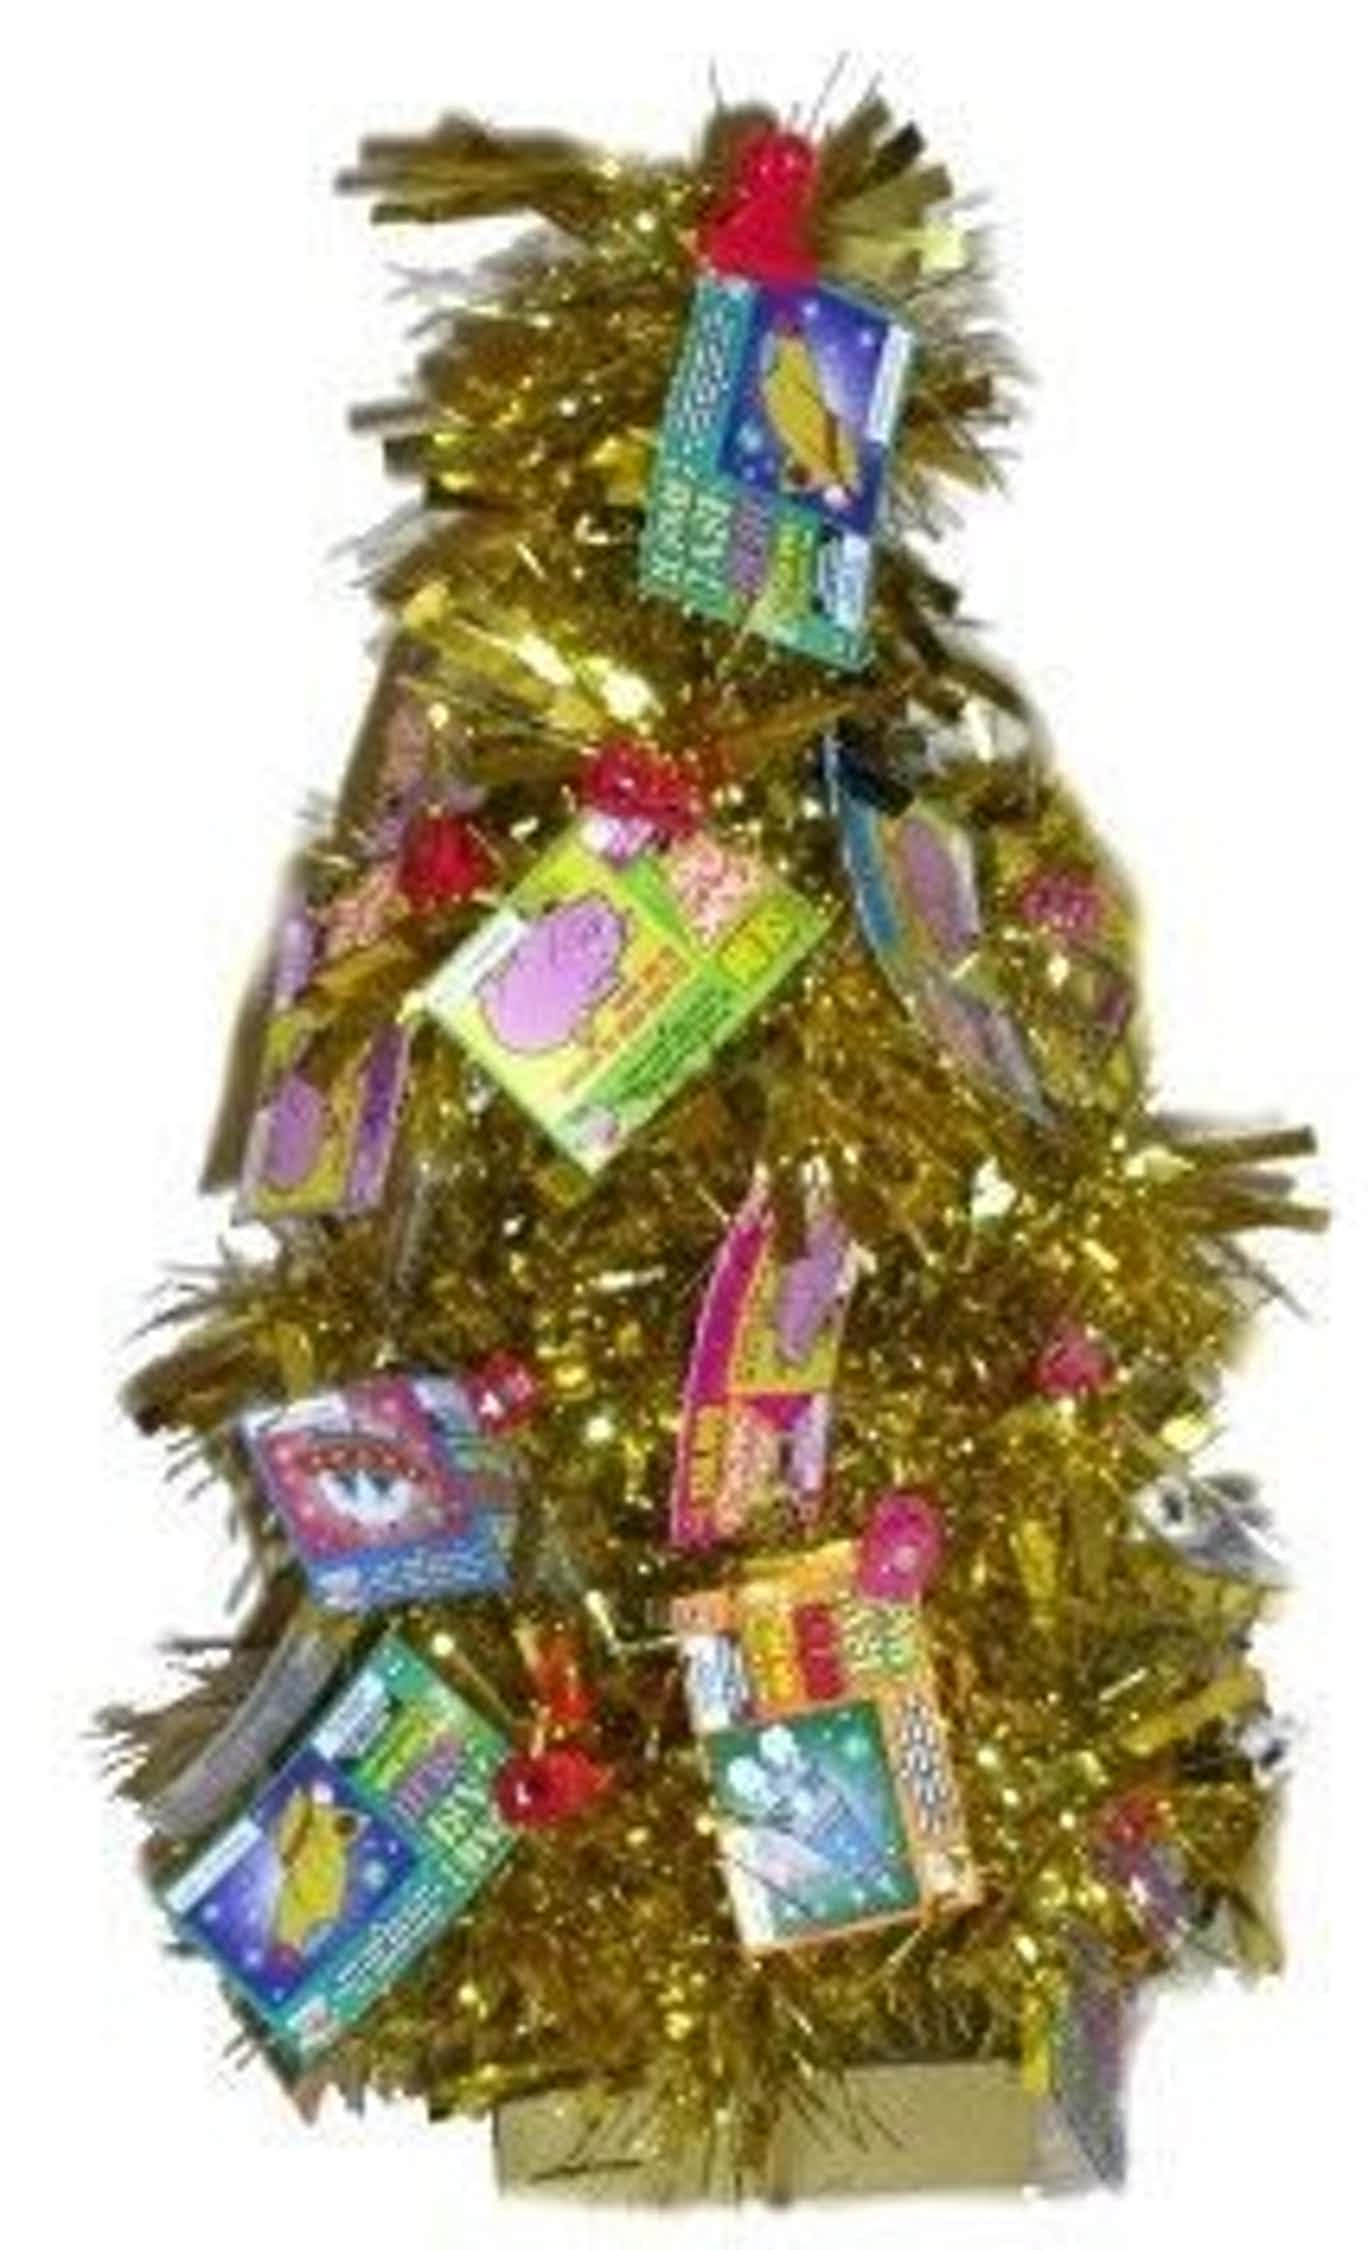
Christmas Lottery Scratchie Ticket Tree Gift Idea
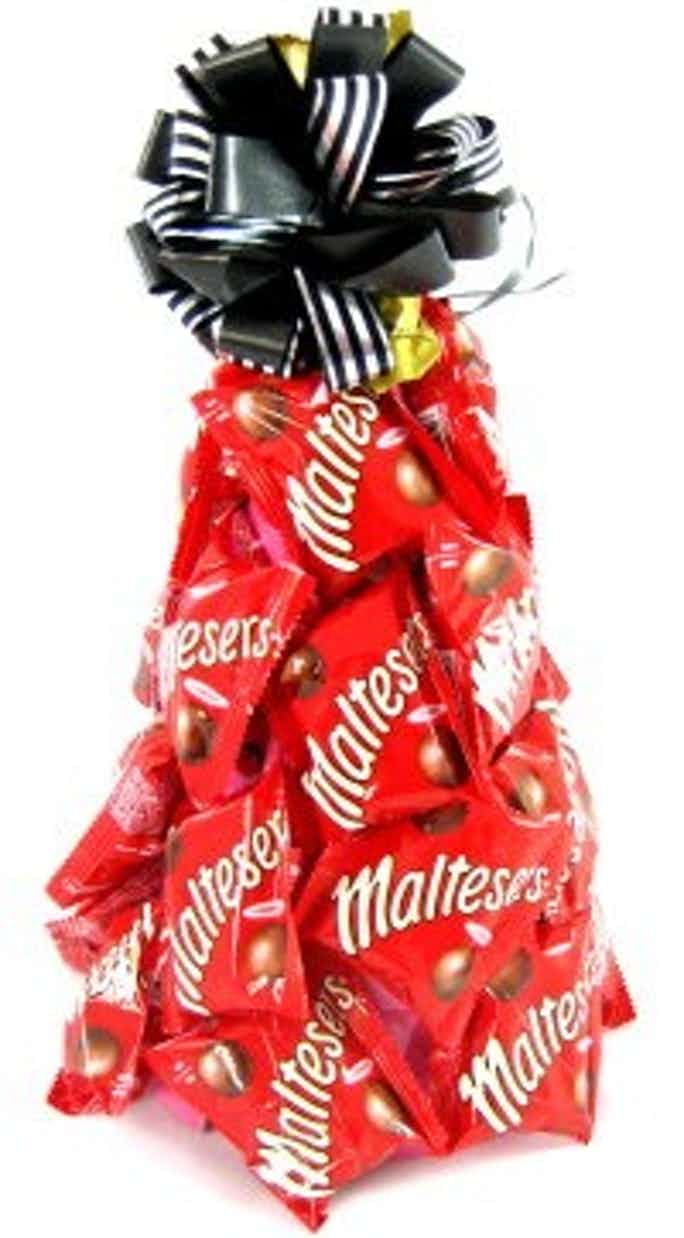
Mini Fun Sized Candy Bag Christmas Gift Tree Edible



«
»

Have you read?

These Bakery-Style Biscoff Cupcakes Disappear in Minutes

Cupcakes never go out of style. They’re the little black dress of the baking world—simple, versatile, and always a hit at parties. But give them a twist of creamy Biscoff frosting, and suddenly you’ve got a dessert that feels modern, trendy, and completely irresistible.

These Biscoff Cupcakes start with a soft, fluffy vanilla sponge that’s perfectly balanced—not too sweet, not too dense. Then comes the star: a swirl of rich Biscoff buttercream frosting, topped with a mini Biscoff biscuit for crunch. They look bakery-worthy but are surprisingly easy to make at home.

Whether you’re baking for birthdays, school events, bake sales, or simply treating yourself with an afternoon cuppa, these cupcakes are guaranteed to disappear fast.

Why You’ll Love This Recipe

  • Bakery-style results at home – fluffy sponge + silky frosting. 
  • Cookie butter goodness – spiced caramel flavor in every bite. 
  • Picture perfect – ideal for Pinterest boards, dessert tables, and Instagram shots. 
  • Crowd pleaser – loved by both adults and kids. 

Ingredients

For the Cupcakes:

  • 200g (1 cup) sugar 
  • 200g (1 ¾ cups) all-purpose flour 
  • 120g (½ cup) unsalted butter, softened 
  • 2 large eggs 
  • 120ml (½ cup) milk 
  • 1 ½ tsp baking powder 
  • 1 tsp vanilla extract 
  • Pinch of salt 

For the Biscoff Buttercream Frosting:

  • 150g (? cup) unsalted butter, softened 
  • 200g (1 ½ cups) powdered sugar 
  • 150g (about ½ cup) Biscoff spread (smooth) 
  • 1–2 tbsp milk (to loosen, if needed) 

For Topping:

  • Mini Biscoff biscuits (one per cupcake) 
  • Crushed biscuits for sprinkling (optional) 

Method

Step 1 – Bake the Cupcakes

  1. Preheat oven to 180°C / 350°F. Line a 12-hole cupcake tray with cases. 
  2. Beat butter and sugar together until light and fluffy. 
  3. Add eggs one at a time, then stir in vanilla. 
  4. Mix flour, baking powder, and salt in a separate bowl. 
  5. Alternate adding dry ingredients and milk into the butter mixture, mixing gently until combined. 
  6. Divide batter evenly into cupcake cases. 
  7. Bake for 18–20 minutes until golden and springy. 
  8. Cool completely before frosting. 

Step 2 – Make the Biscoff Buttercream

  1. Beat softened butter until pale and creamy. 
  2. Add powdered sugar gradually, mixing until smooth. 
  3. Beat in Biscoff spread until fully combined. 
  4. If too thick, add 1–2 tbsp milk for a silky, pipeable consistency. 

Step 3 – Decorate

  1. Pipe swirls of Biscoff buttercream onto cooled cupcakes. 
  2. Top each with a mini Biscoff biscuit. 
  3. Sprinkle crushed biscuits for extra crunch. 

Tips for Perfect Biscoff Cupcakes

  • Use room temperature ingredients for a smooth batter. 
  • Don’t overbake – cupcakes should be soft and springy. 
  • Chill the frosting slightly before piping for firmer swirls. 
  • Make ahead – cupcakes can be baked the day before and frosted when ready to serve. 

Where to Get Biscoff

Stock up on Biscoff on Amazon, or if you love homemade projects, try making your own Cookie Butter Spread.

These Biscoff Cupcakes are soft, fluffy, and topped with the creamiest cookie butter frosting you’ll ever taste. Bakery-style, Pinterest-pretty, and dangerously delicious—they’re guaranteed to be the star of any dessert table.


Categories

Baked candy chocolate Christmas cookies Craft Inspirations cupcakes Drinks Easter fruit Fun With Food Halloween Holidays kids More Recipes non-sweets Parties & entertaining Recipes Thanksgiving Valentines Day

Planet Cake Giveaway at Munchkin Munchies

21 Delicious Spring Icecream Recipes

Fabulous Stop-Motion Video of a Fall Cake Tree How-to

The fairy party

Kids DIY Breakfast Cheerio Parfait

RSS More Articles

  • Easy Ways to Fancy Up Your Biscornu
  • How to Sew a Bubble Hem Skirt: The Puffball Skirt Trend Made Wearable
  • Best Handmade Earrings To Sell At Craft Markets
  • Book Review: Circular Knitting for Beginners and Beyond
  • 12 Scrapbook Layouts with Scalloped and Lacy Details
  • Christmas Craft Ideas To Sell: Start Making One Project A Week Now And Be Ready By November
  • Sunseeker Pullover – Crochet Pattern
  • 10 Free Sunflower Machine Embroidery Patterns
  • Beginner Needle-Felted Strawberries: A Step-by-Step Tutorial
  • Celebrating Mexican Independence Day

Pick Your Blog

  • Sewing
  • Knitting
  • Quilting
  • Crochet
  • Home & Garden
  • Recycled Crafts
  • Scrapbooking
  • Card Making
  • Polymer Clay
  • Cross-Stitch
  • Edible Crafts
  • Felting
  • Glass Art
  • Indie Crafts
  • Kids Crafts
  • Jewelry Making
  • Lesson Plans
  • Needlework
  • Bath & Body
  • Party Ideas
  • Candle Making
  • DIY Weddings
  • Not Craft
  • Free Craft Projects

Explore Edible Crafts

breakfast cake candy chocolate Christmas cookie decorating cookies dessert Easter fruit Halloween Holidays kids lollipop sticks lunch packaging party summer Thanksgiving valentines

Copyright © 2026 · CraftGossip | Start Here | Contact Us | Link to Us | Your Editors | Privacy and affiliate policy